Selecting the Content Element "Home Slideshow"
Selecting the Content Element "Home Slideshow"
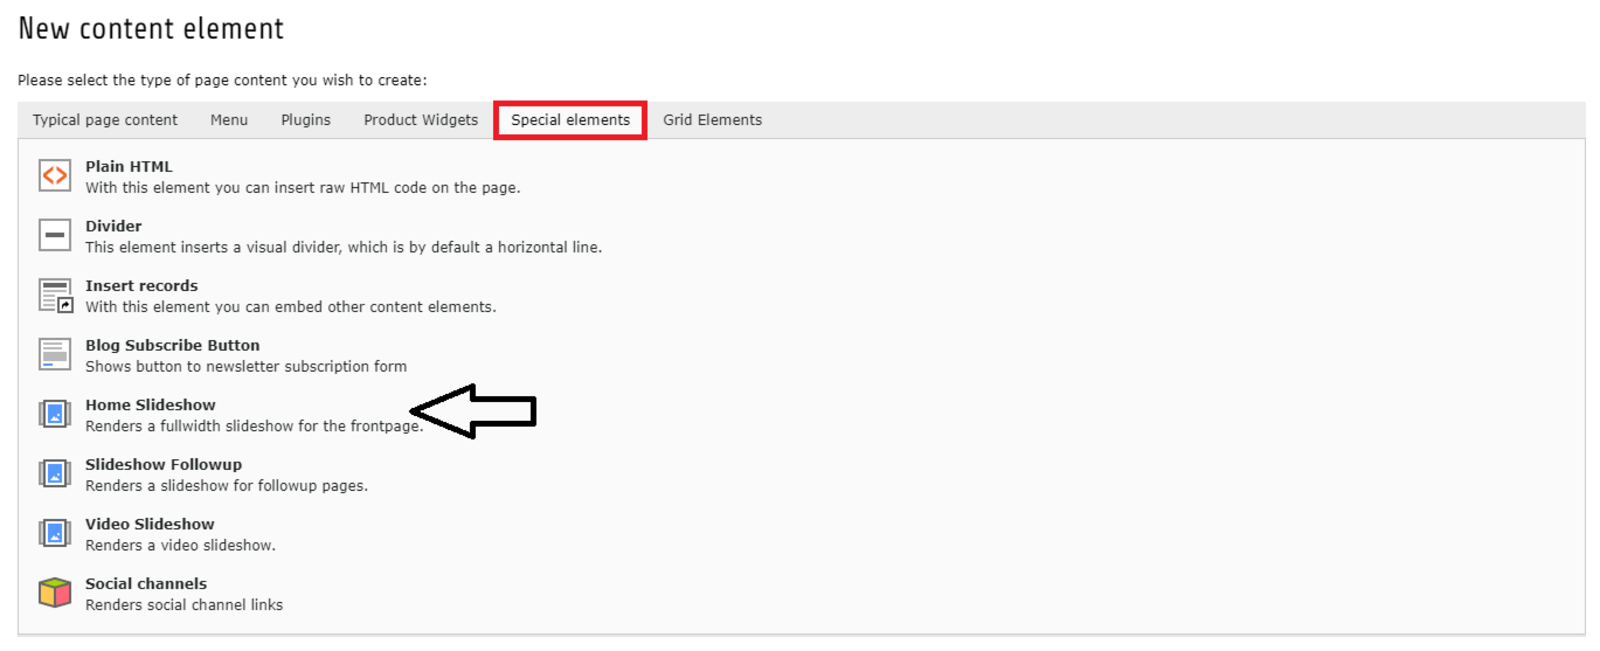
To create big slideshows that extend on the full width of your page, you can choose the content element from the "Special elements" "Home Slideshow" indicated by the black arrow.
Creating the Slides
Creating the Slides
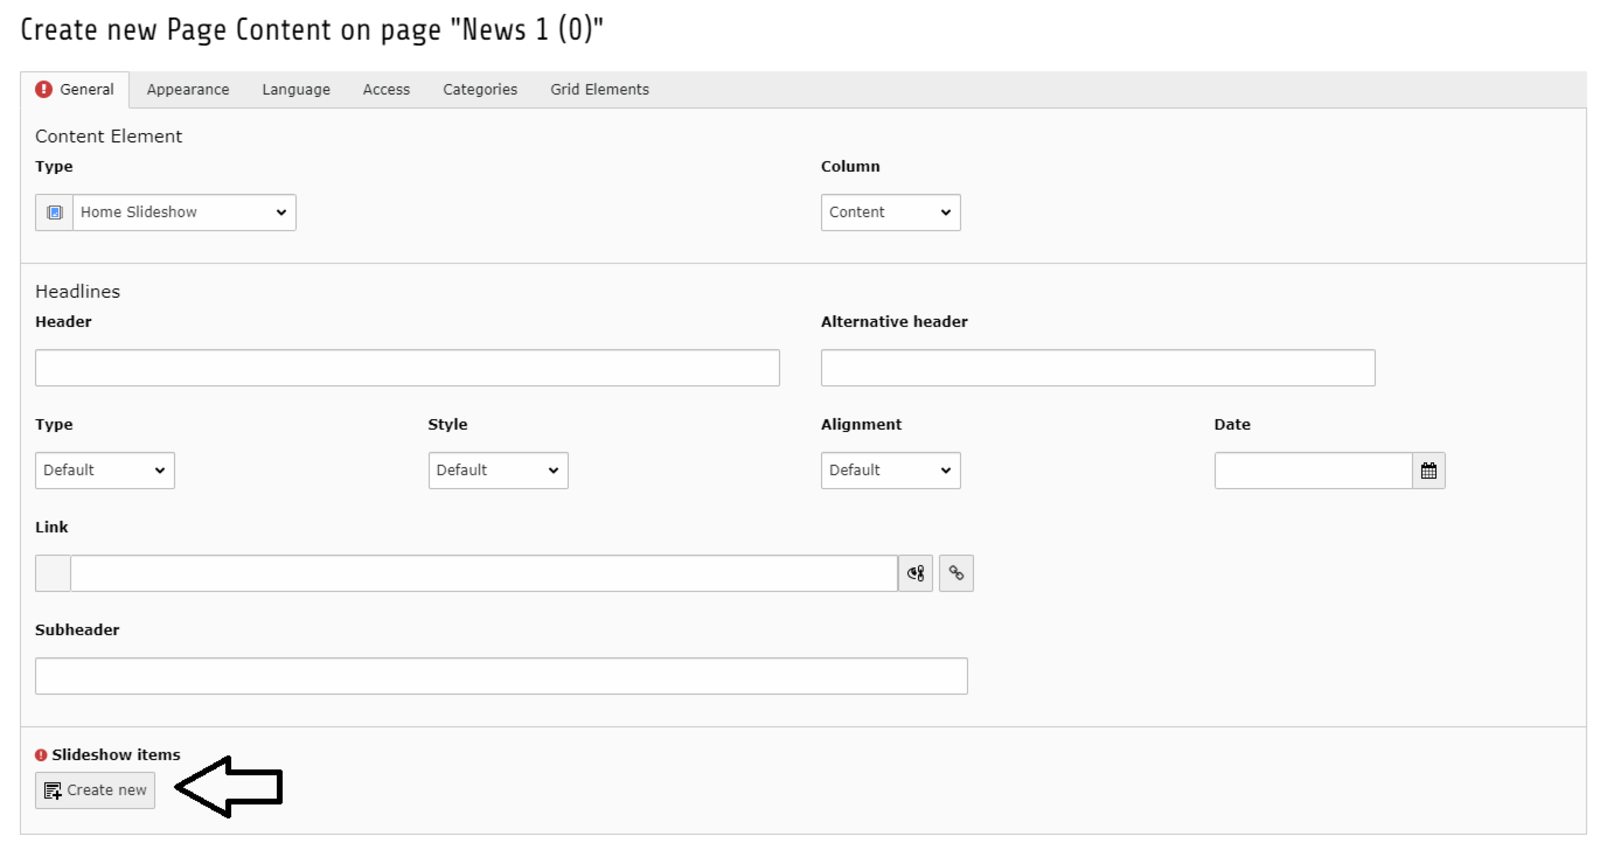
Now you have to create your slideshow items by clicking on the button "Create new" indicated by the black arrow.
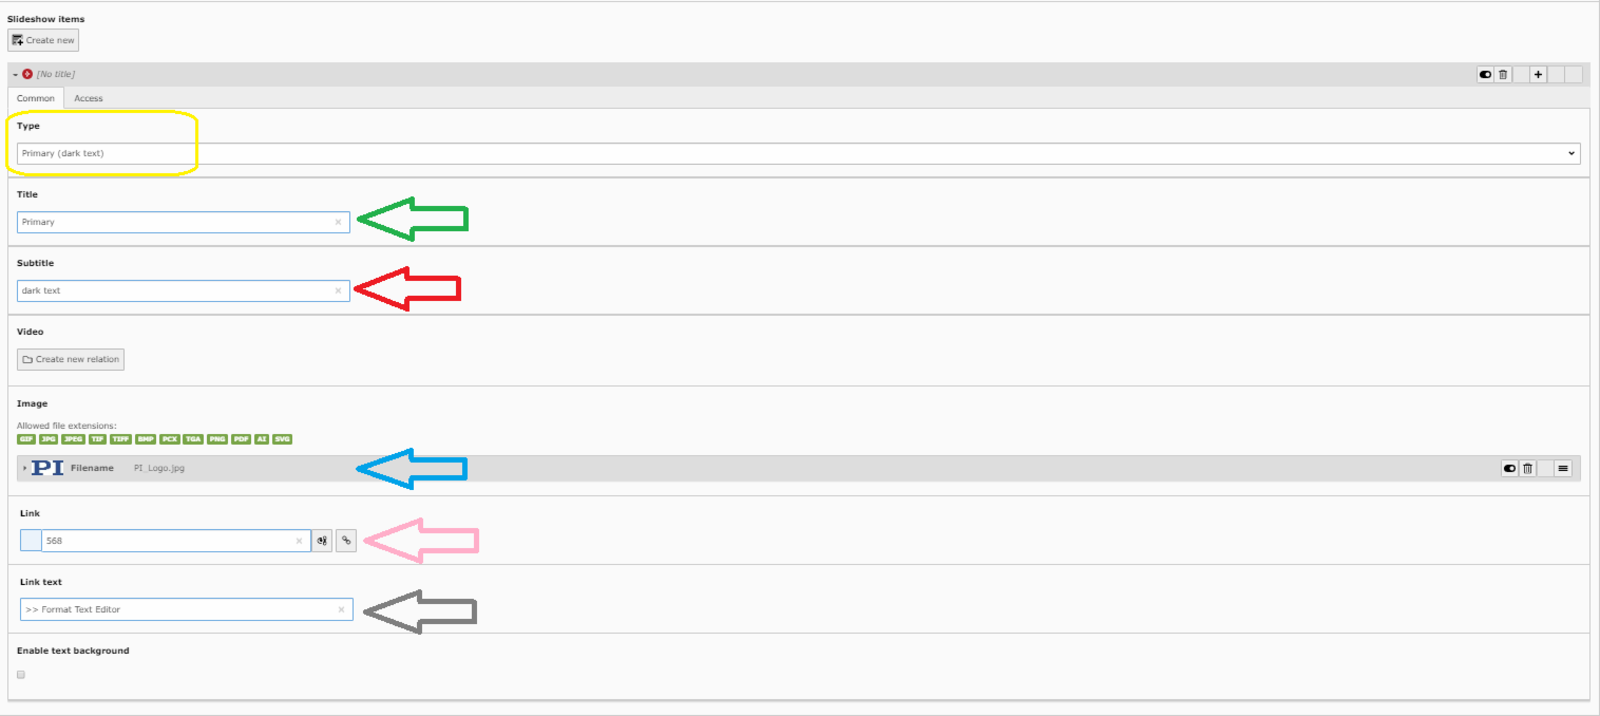
- yellow circle: The first thing to do is to choose the type of the slides. The "Primary (dark text)" is a slide with a dark text colour set on the bottom of the slide. The "Primary (light text)" is a slide with light colours of text, also on the bottom of the slide. The "Secondary" indicates the slide with a centered, left sided text.
- green arrow: In this box you can insert the title you want to show on the slide
- red arrow: In this box you can insert the subtitle you want to show on the slide
- blue arrow: Here you can insert your image by choosing between the uploaded files on your filelist
- pink arrow: Here you can set an internal or external link as explained in IMG 24B, again in the section >> How do I set up an element including text and media? The link will also appear on your slide
- grey arrow: In this box you can insert the text you want to indicate your link with
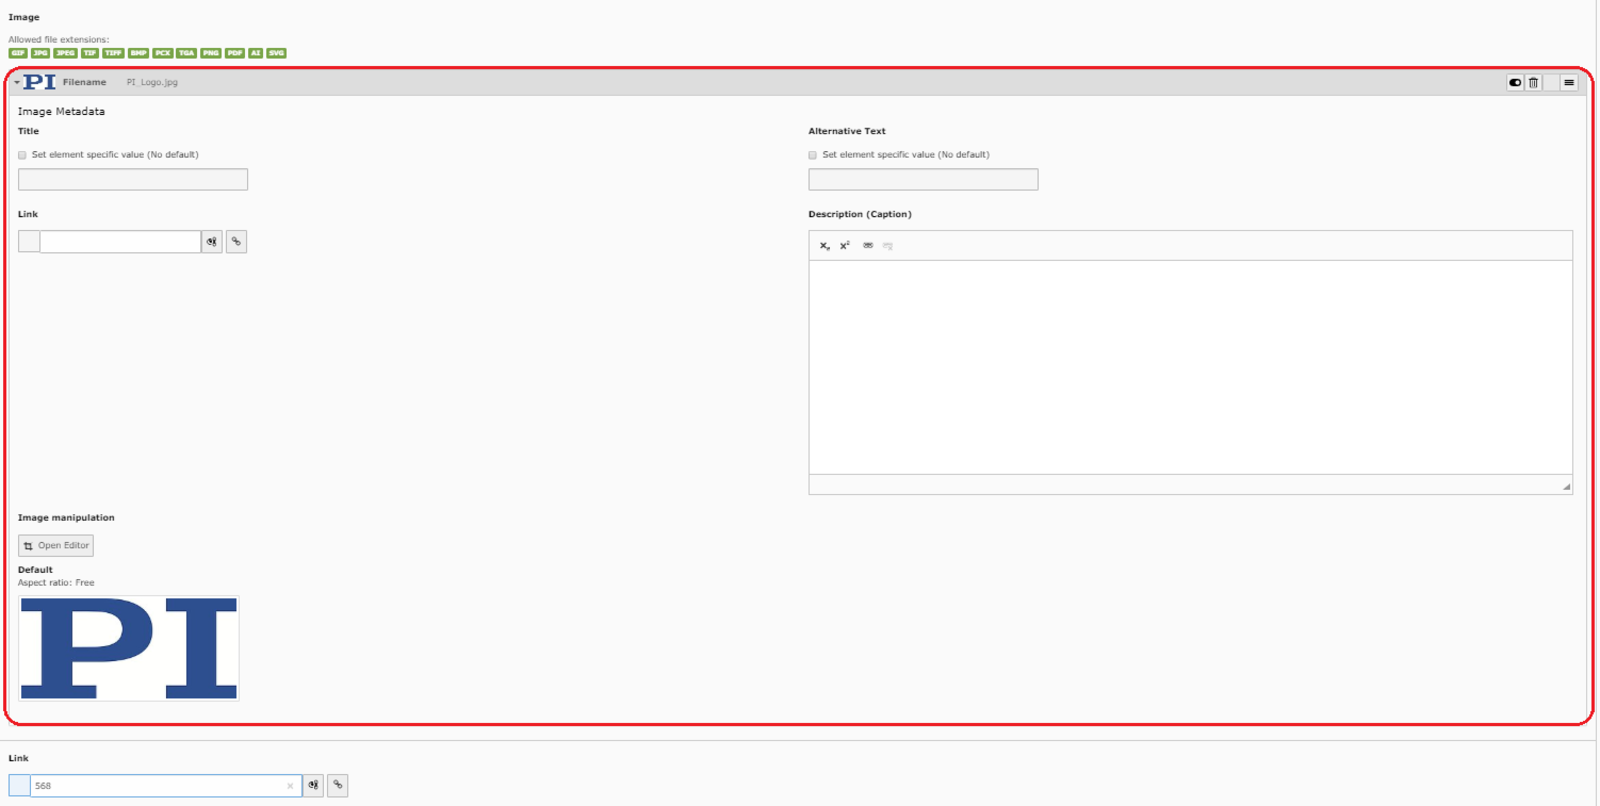
- red circle: These are the configurations for the image. They are exactly the same as explained in IMG 25 in the section >> How do I set up an element including text and media?
The appearance of your slideshow will depend strongly on the format of your images. You can see a few examples >> here.
Selecting the Content Element "Slideshow Followup"
Selecting the Content Element "Slideshow Followup"
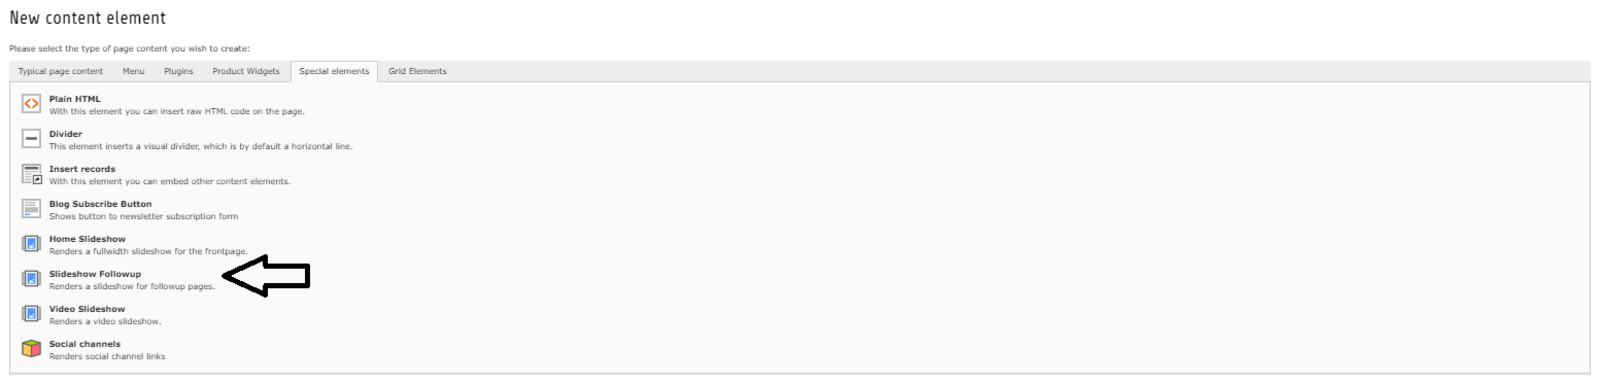
To create a banner slideshow you can choose the content element from the "Typical page content" "Slideshow Followup" indicated by the black arrow.
Creating and Configurating the Slides
Creating and Configurating the Slides
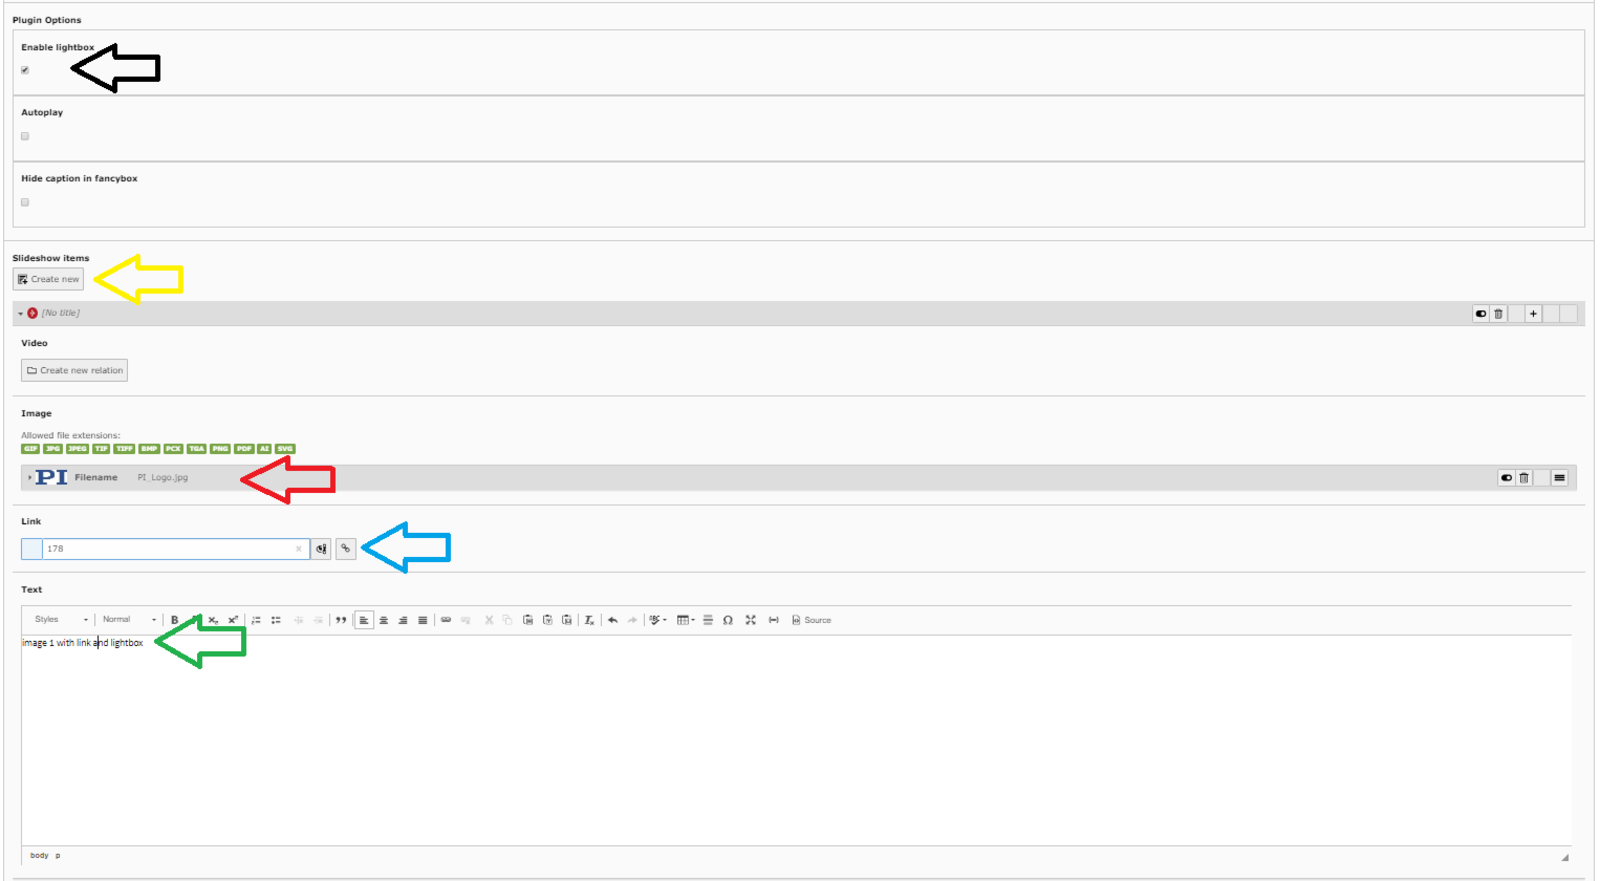
- black arrow: You have the possibility to activate the checkbox of "Enable lightbox" or "Autoplay". You can see examples on how they will look like >>here
- yellow arrow: Click on this button to create your slides. This button will never disappear, so you can insert as many slides as you want
- red arrow: These are the configurations for the image. They are exactly the same as explained in IMG 25 in the section >>How do I set up an element including text and media?
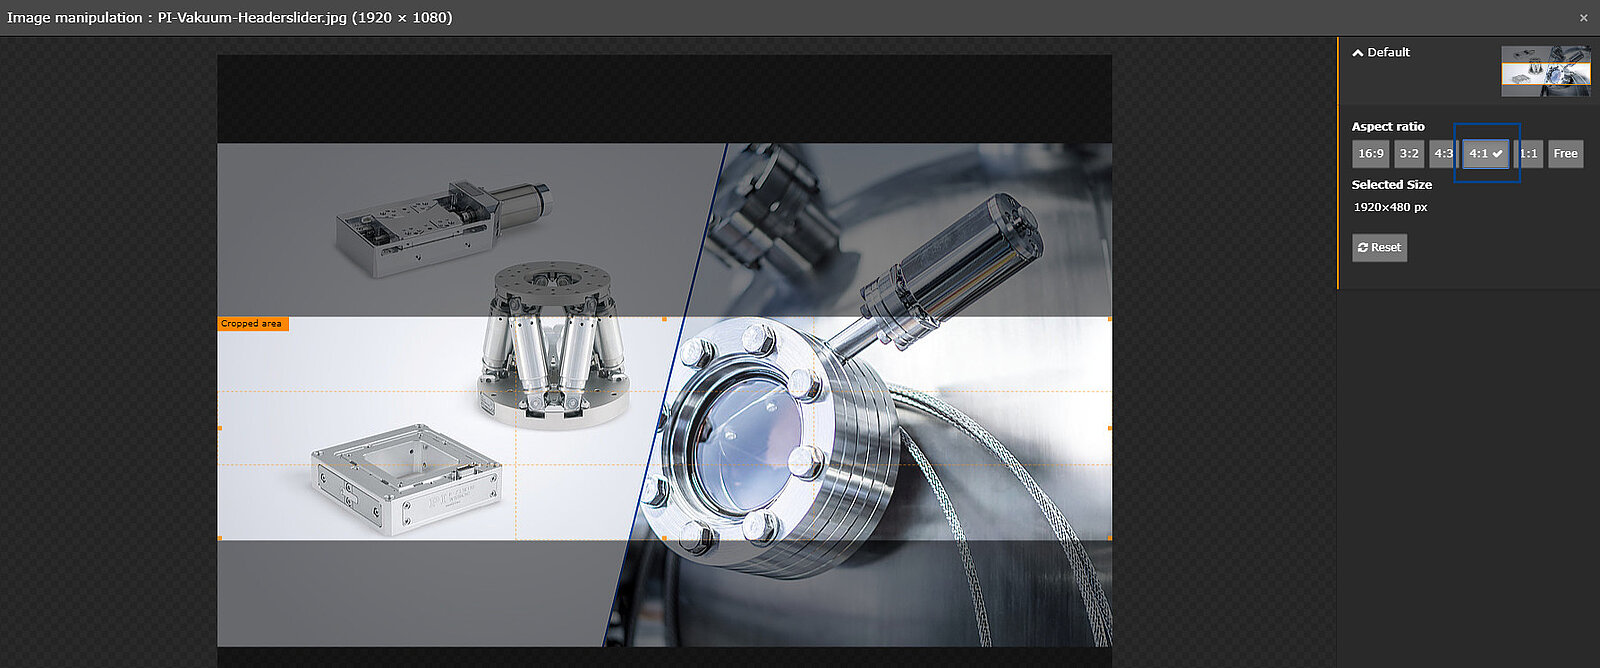
Please use the format 4:1 (explanation below).
- blue arrow: Here you can set an internal or external link as explained in IMG 20 in the section >>How do I layout my header? The link will also appear on your slide
- green arrow: Here you can insert a text that will appear on the bottom of each slide
Selecting the Content Element "Video Slideshow"
Selecting the Content Element "Video Slideshow"
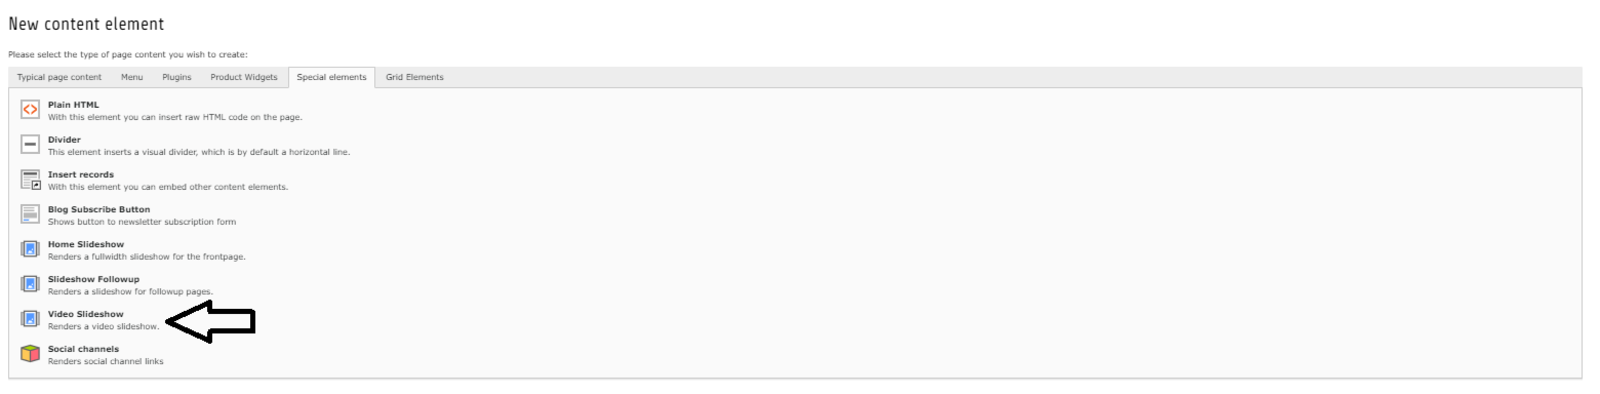
To create a video slideshow you can choose the content element from the "Typical page content" "Video Slideshow" indicated by the black arrow.
Creating and Configurating the Slides
Creating and Configurating the Slides
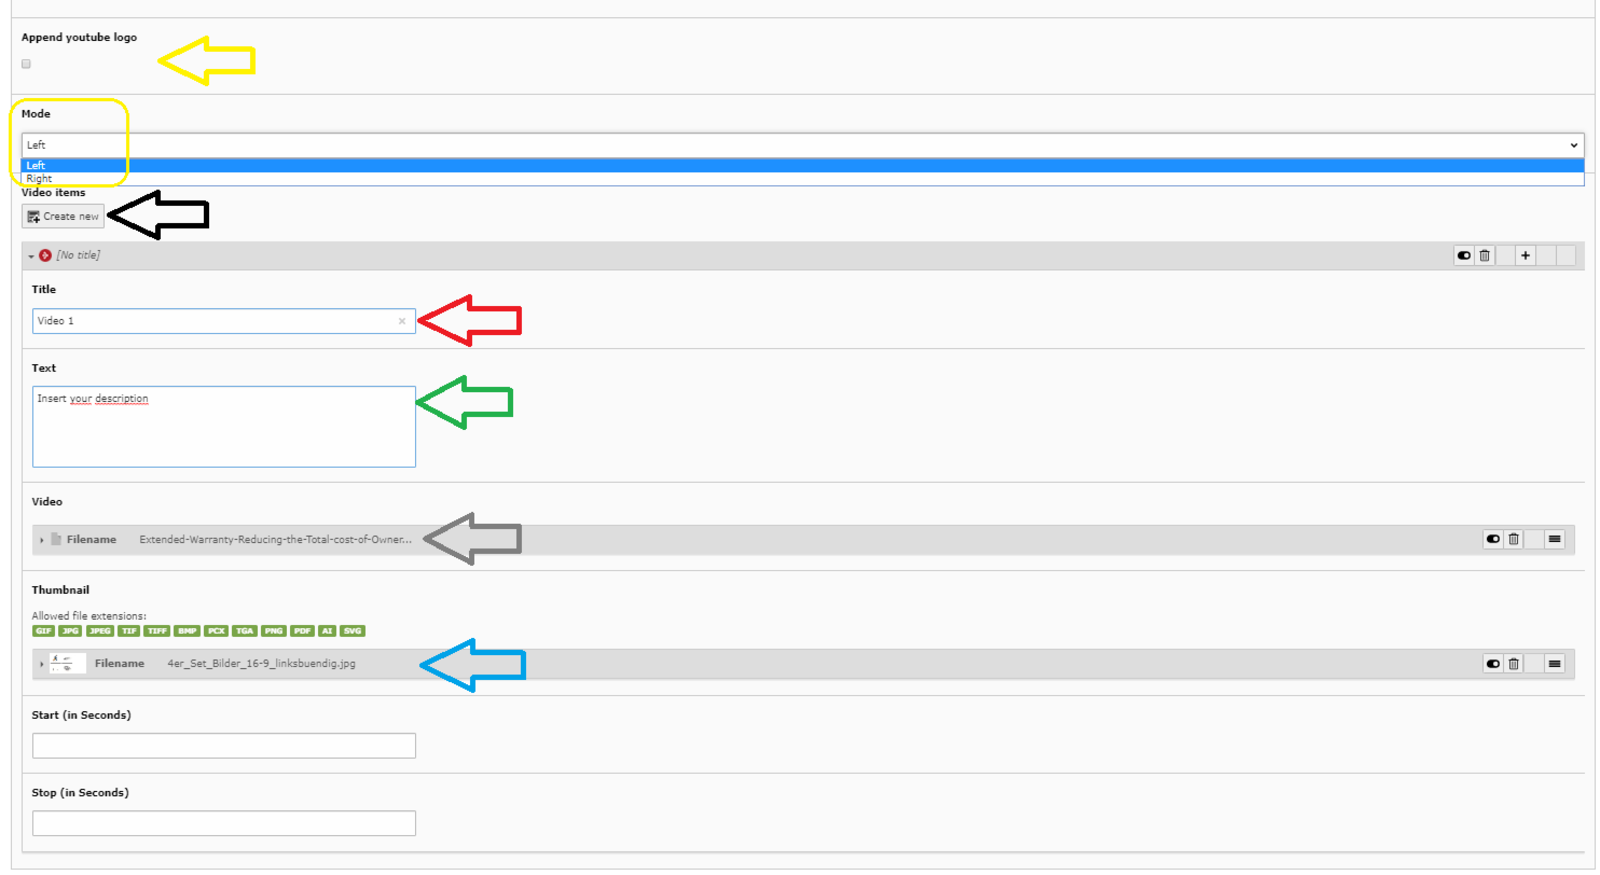
- yellow arrow: Indicates the possibility to insert the Youtube logo alongside the video slideshow title.
- yellow circle: Here you can choose whether to put your video on the left or right hand side of the page.
- black arrow: Click on this button to create your slides. This button will never disappear, so you can insert as many slides al you want
- red arrow: Here you can insert the title of your video slideshow
- green arrow: Here you can insert a description for each of your slide
- grey arrow: As it is for images you can go through the uploaded files on TYPO3 and choose videos. In the grey circle you can see the settings for the video, which are quite the same as for the images as well. You can set a title and a description for each of your slides.
- blue arrow: Here you can set an image as thumbnail for each of your slides
>>Here you can see an example on how it could look like.