Selecting the content element Divider
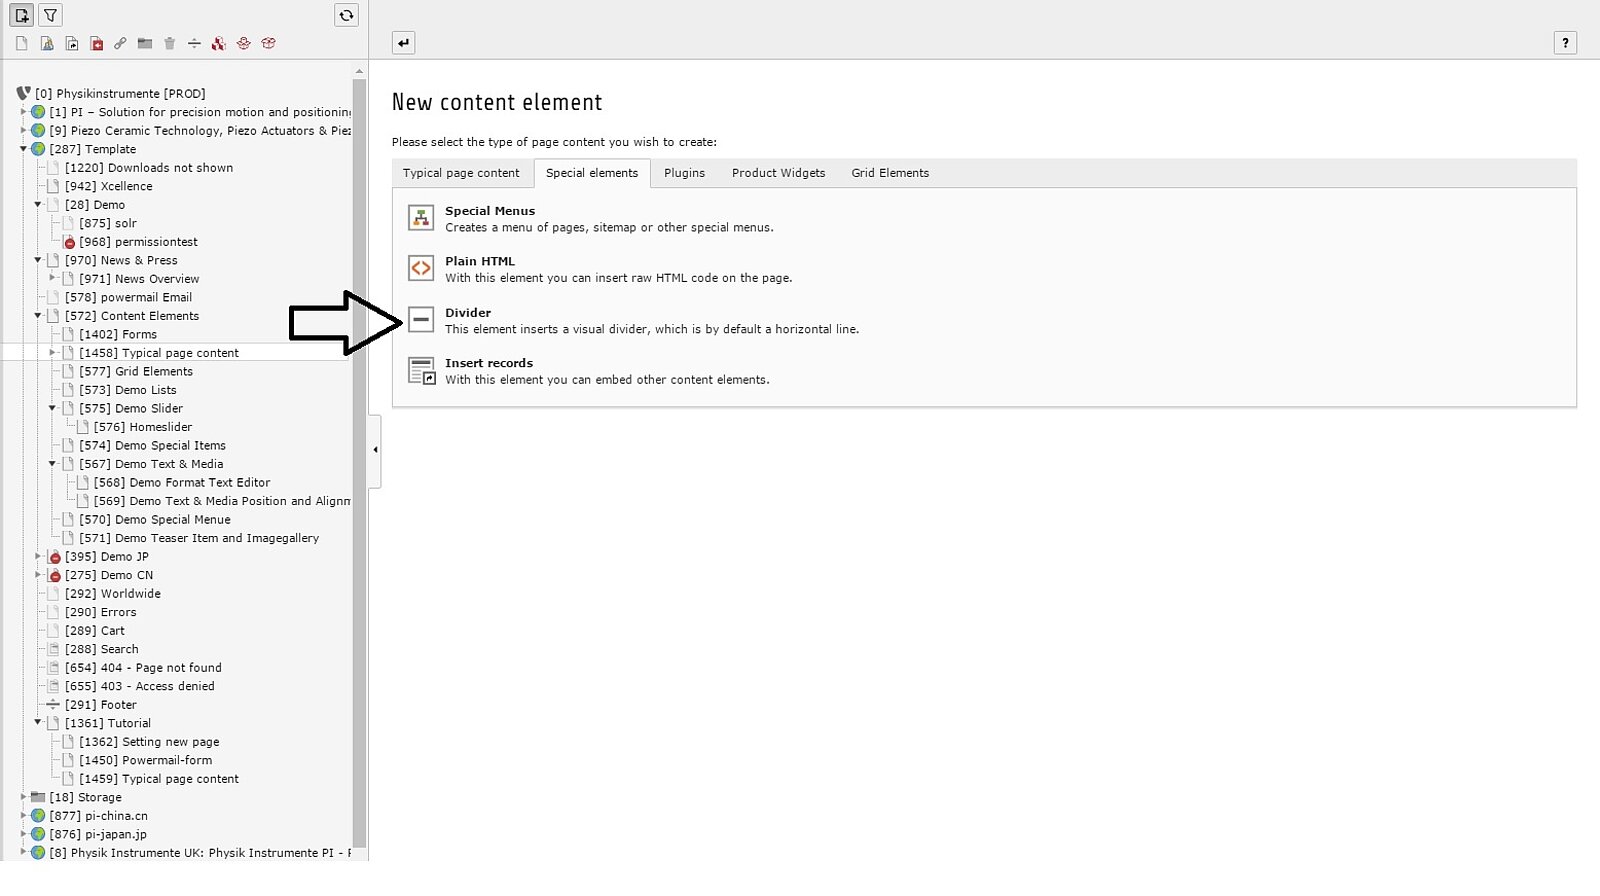
Selecting the content element Divider
To make a break between one item and the next one you can choose the content element "Divider" from the "Special elements" indicated by the black arrow.
Choose your layout and save the item
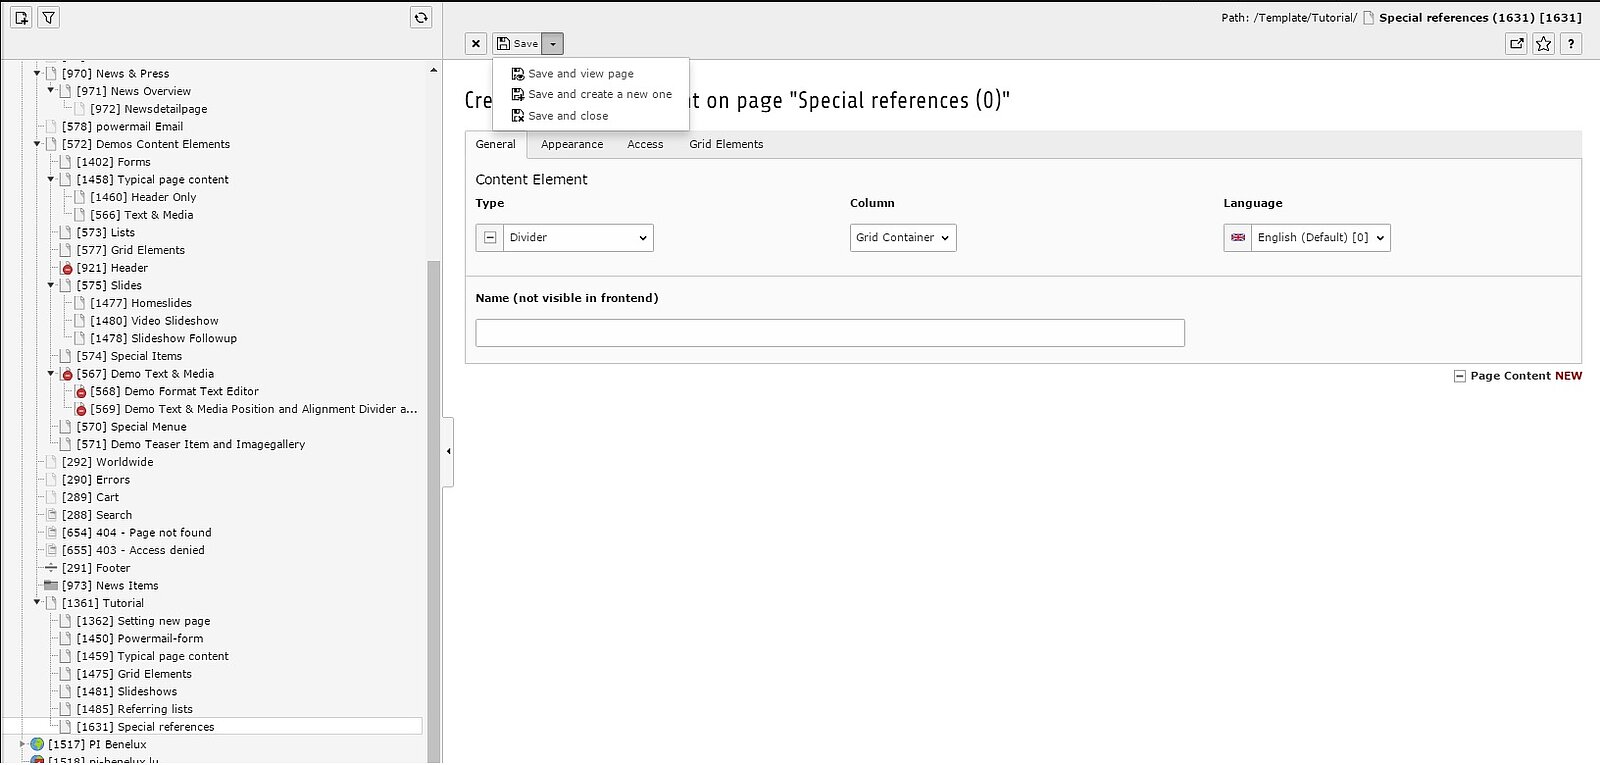

Choose your layout and save the item
The Divider is a preprogrammed vertical line. You can choose from three different layout styles by opening the drop-down menu in the "Appereance" tab.
Which layouts are available?
Now you just have to save and close your page again and the break between your items is created.
Selecting the content element Image gallery
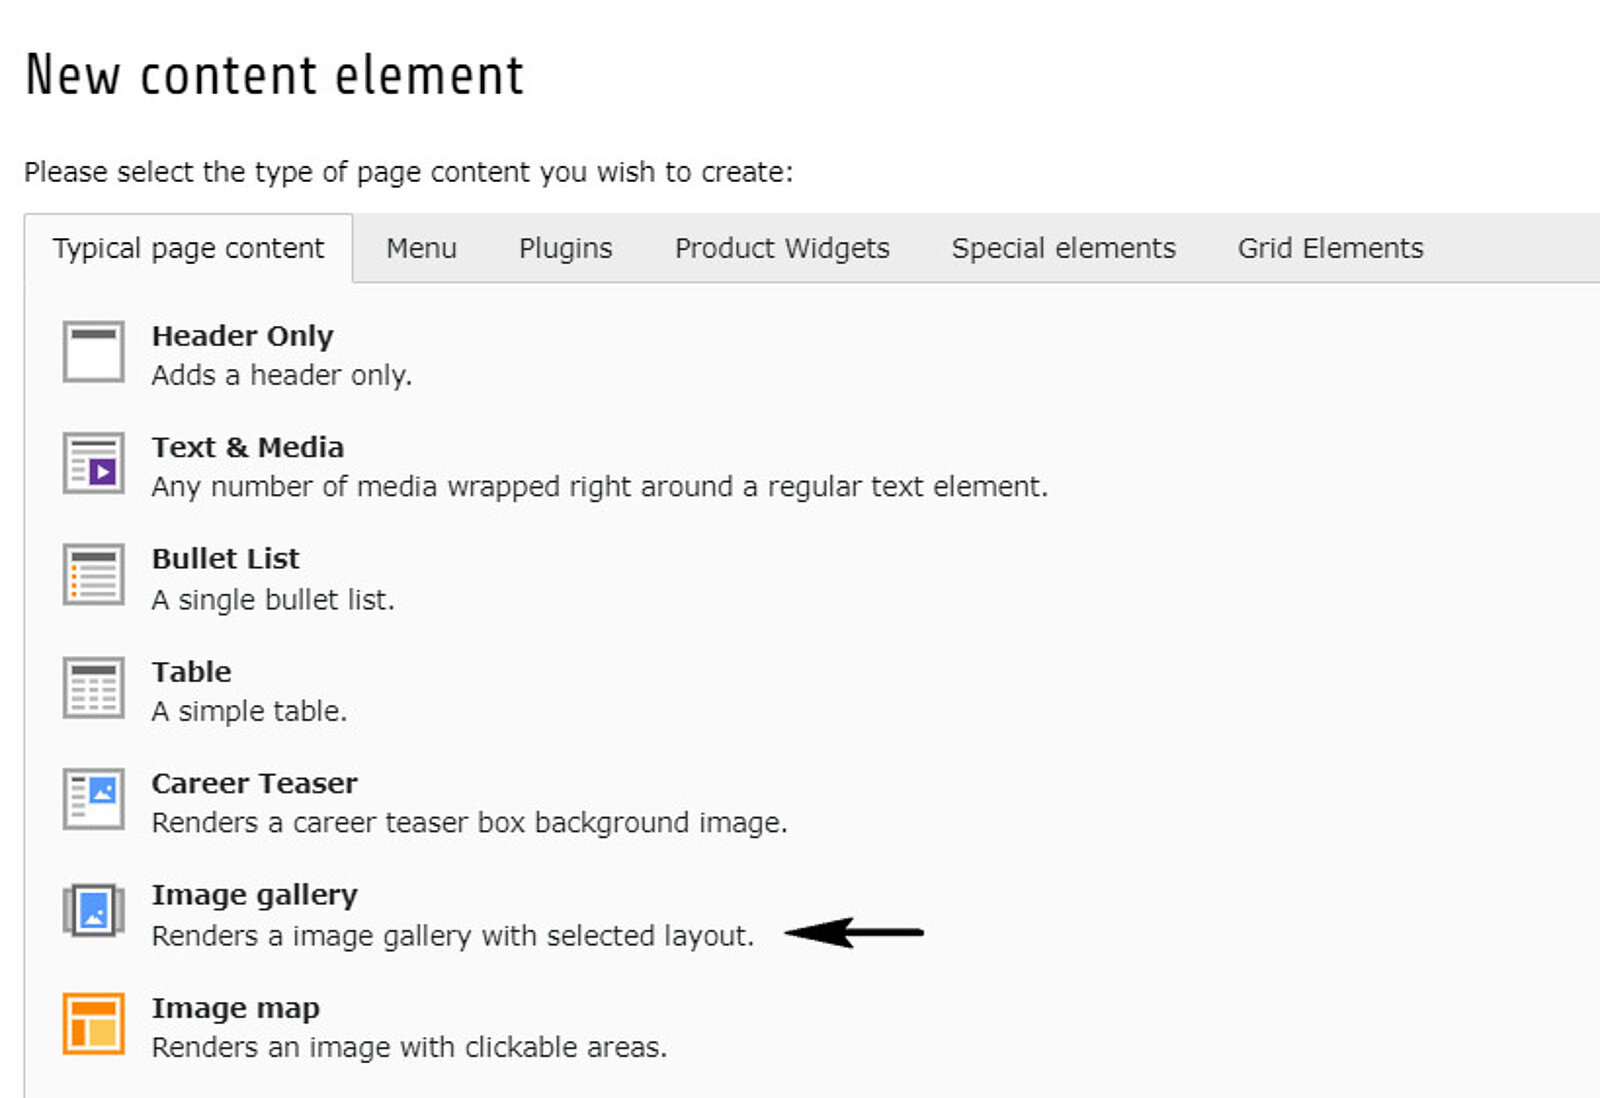
Selecting the content element Image gallery
To create an image gallery as a slideshow or just as a grid, you can choose the item "Image gallery", indicated by the black arrow, from the section "Typical page content".
Adding images or videos to your gallery
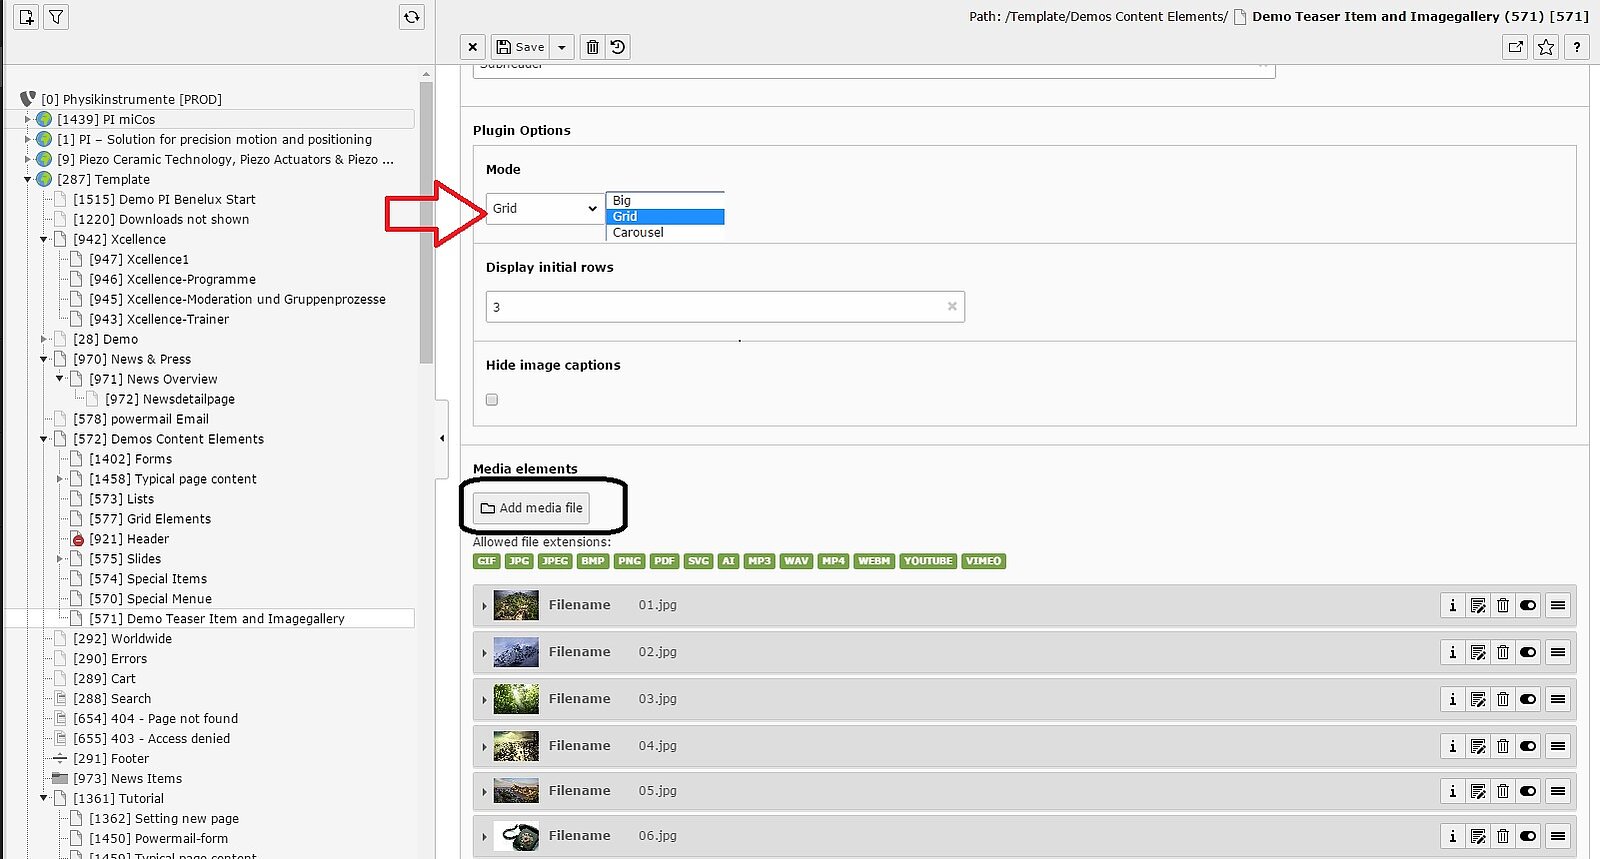
- red arrow: You can choose different appearances of your image gallery, by clicking on "Mode" and choosing between Big, Grid, or Carousel. See examples of the modes >> here
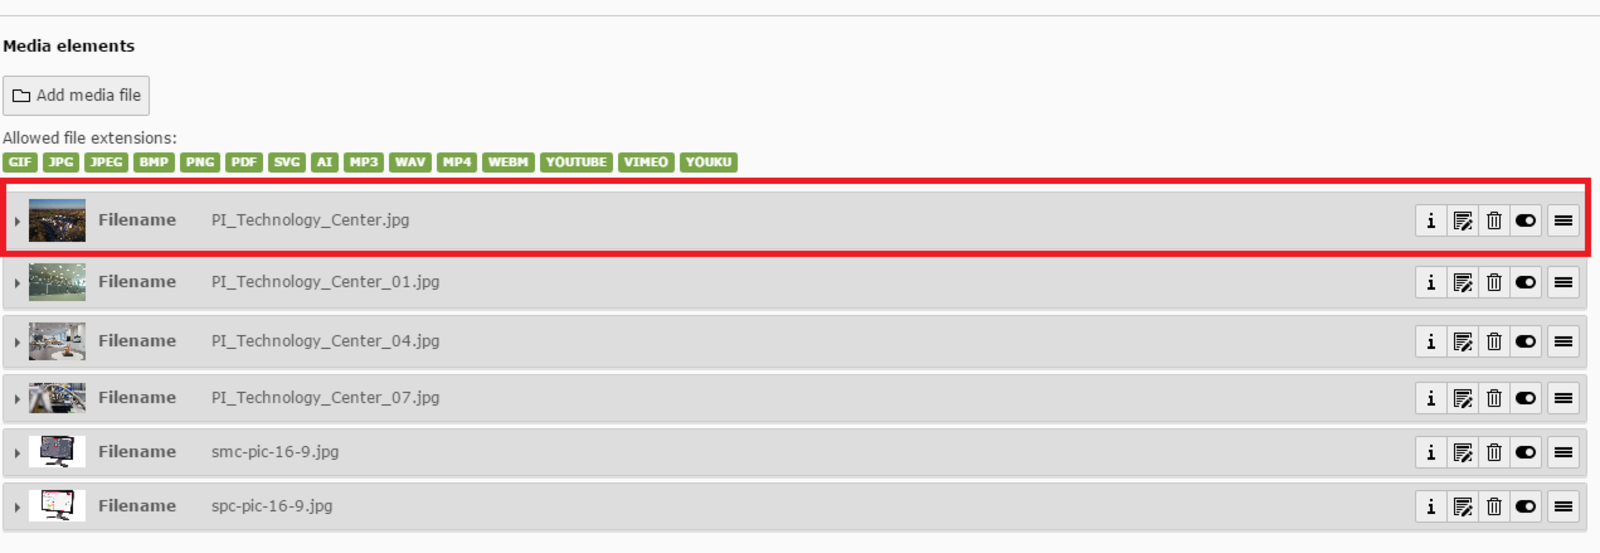
- black circle: Here you can add the pictures or videos that shall be included in your gallery. Remember, first you have to upload all the images or videos to the Filelist in TYPO3.
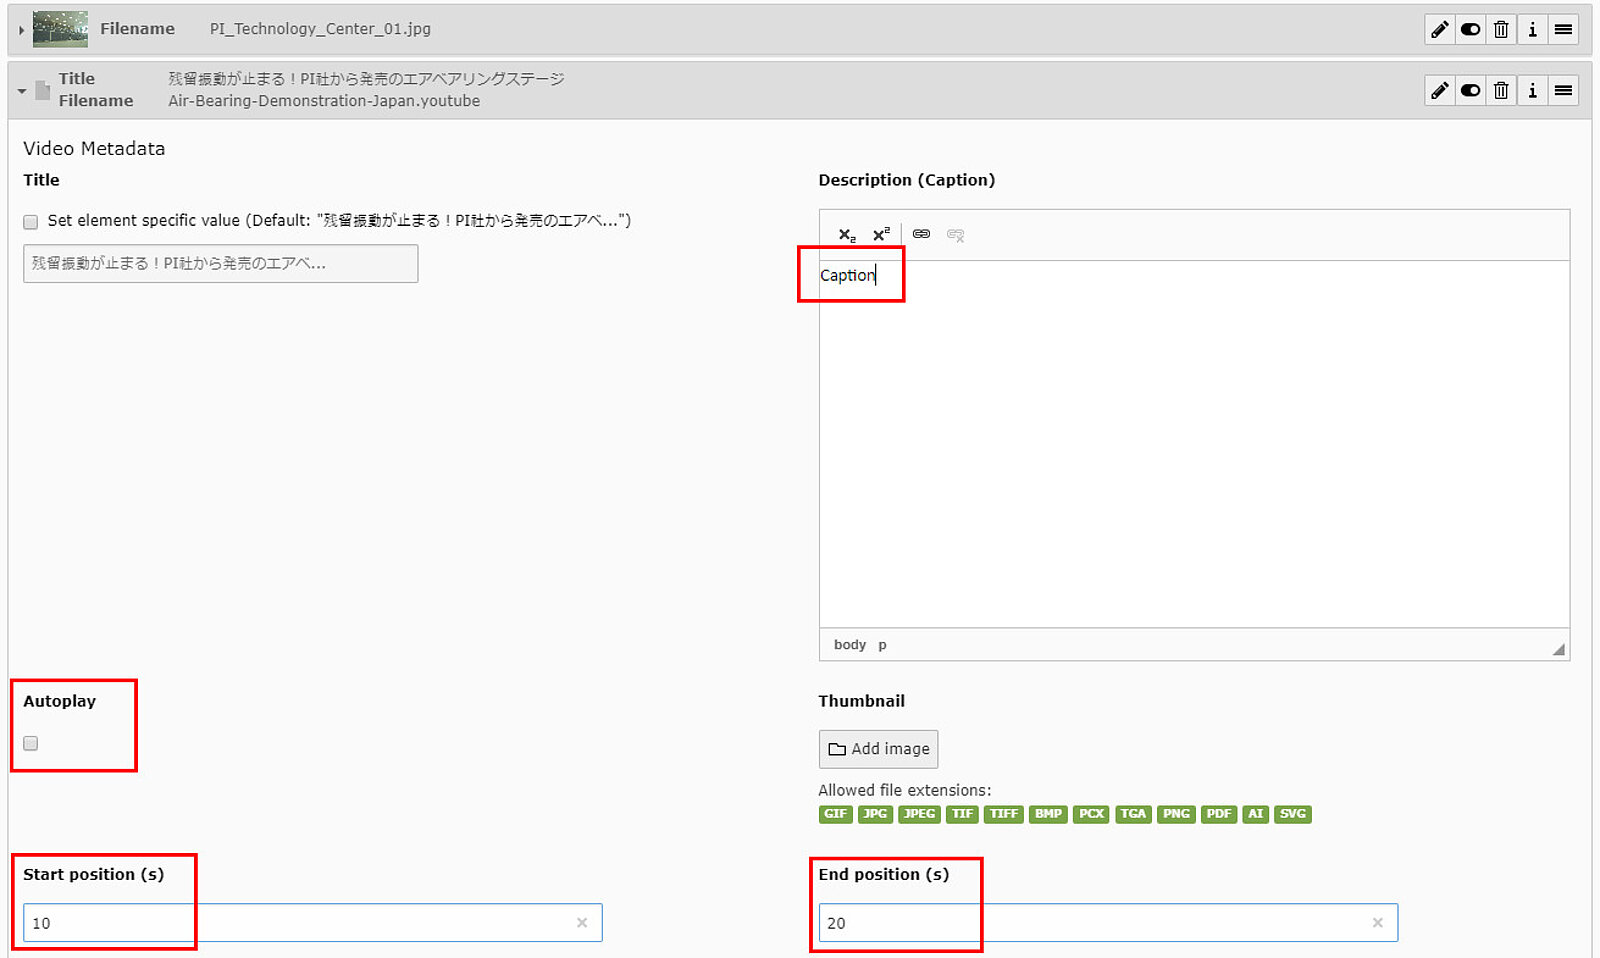
A 16:9 format should be used for the images, because otherwise longer captions do not align with the images.
Autoplay is not available for videos, but you can set the start and end position in the media editor and insert a caption.
When you are using grids the caption appears in the preview, otherwise only in the fancybox.
Captions
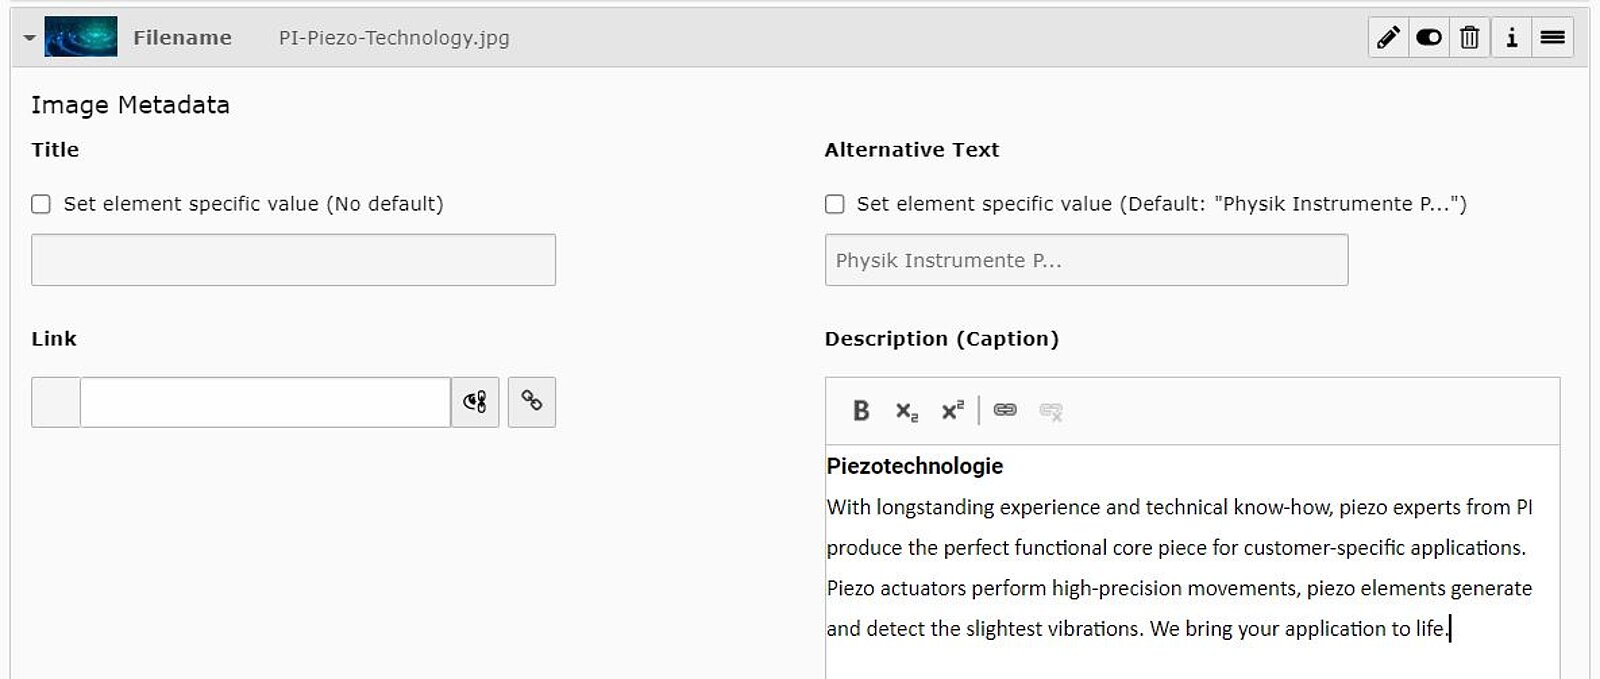
You can add links to the captions, set line breaks and highlight text in bold.
To add a line break, please press Shift und Return.
Sorting of the List
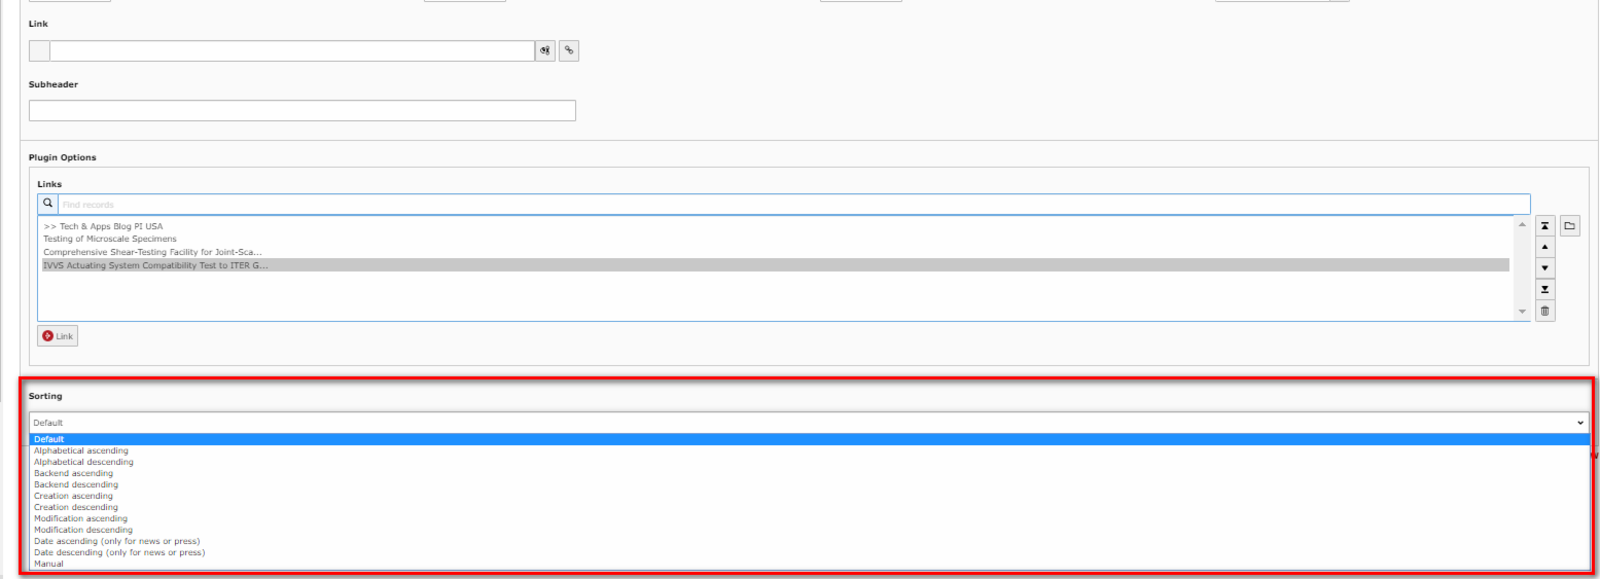
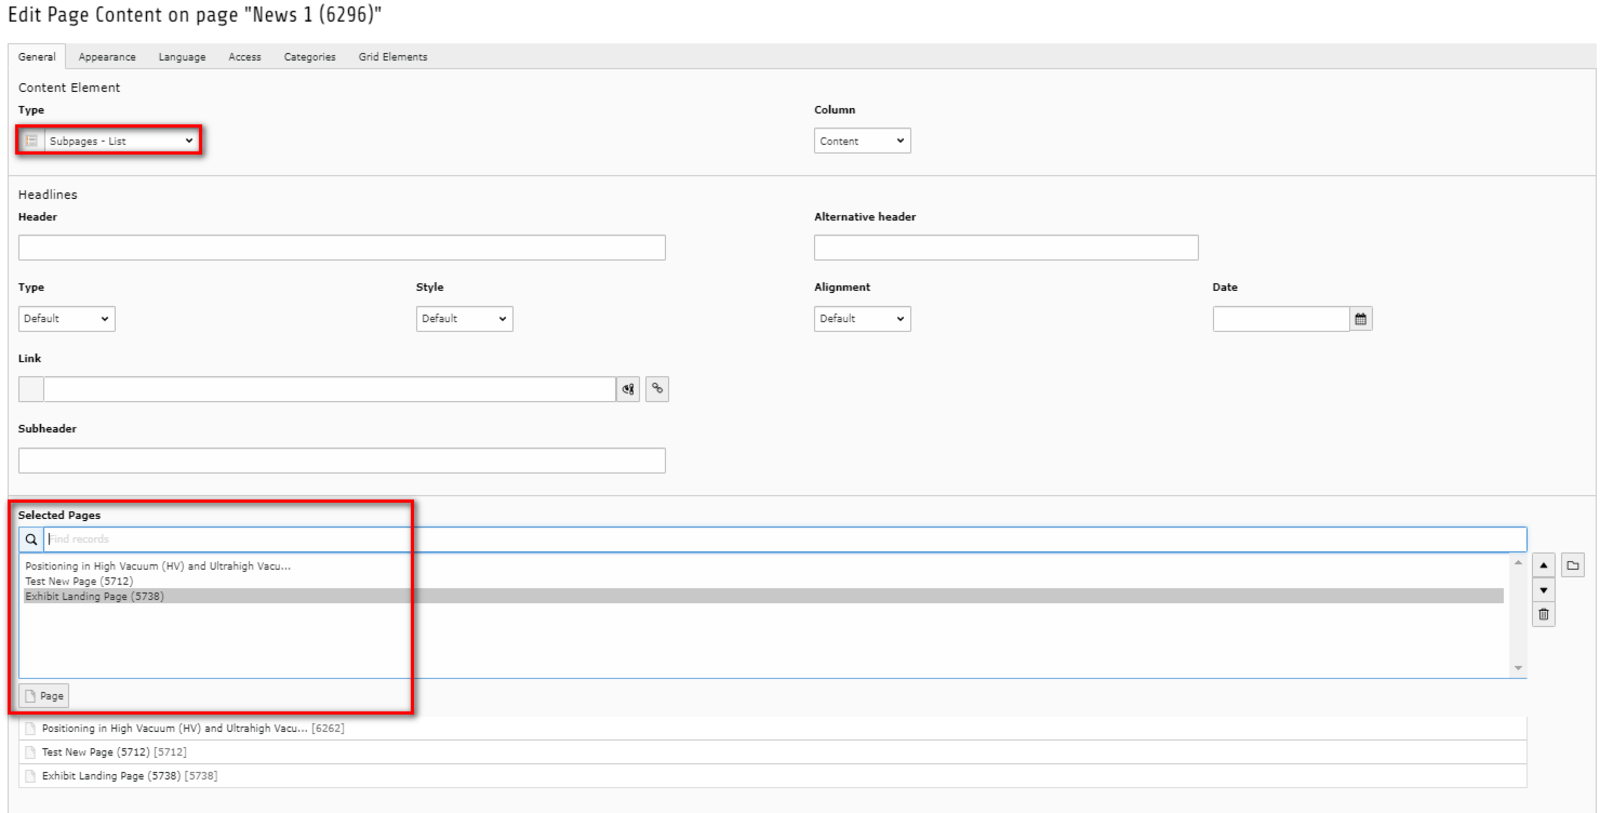
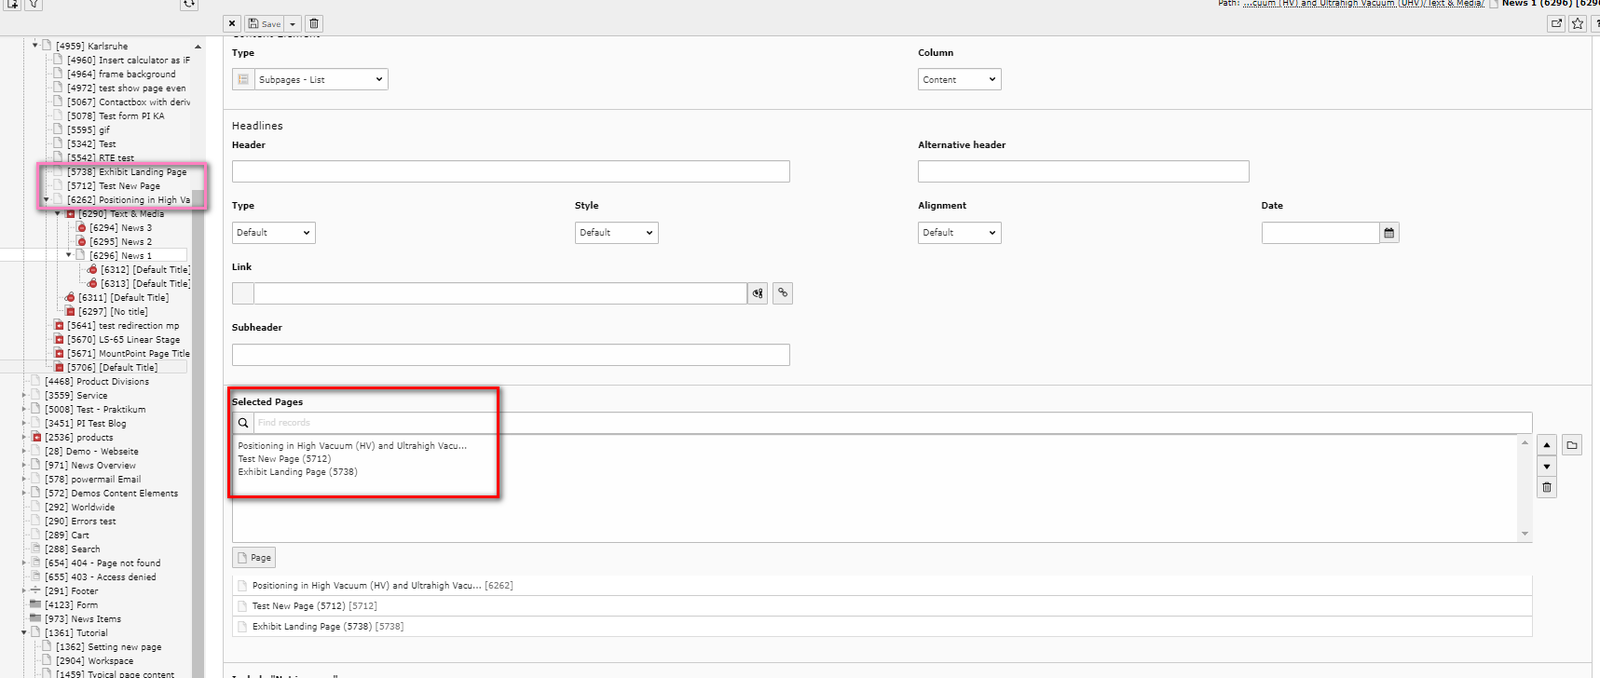
To manage the order of your added pages/ elements you got several options. Choose the one you need from the dropdown menu.
As a default option it's always sorted by the newest at first.
You got the following options to choose:
- Alphabetical
- Creation Date
- Modification Date
- Backend
- Default = Newest first
- Manual
For the green ones you also got the option to sort your list either ascending or descending.
Selecting the content element Teaser items
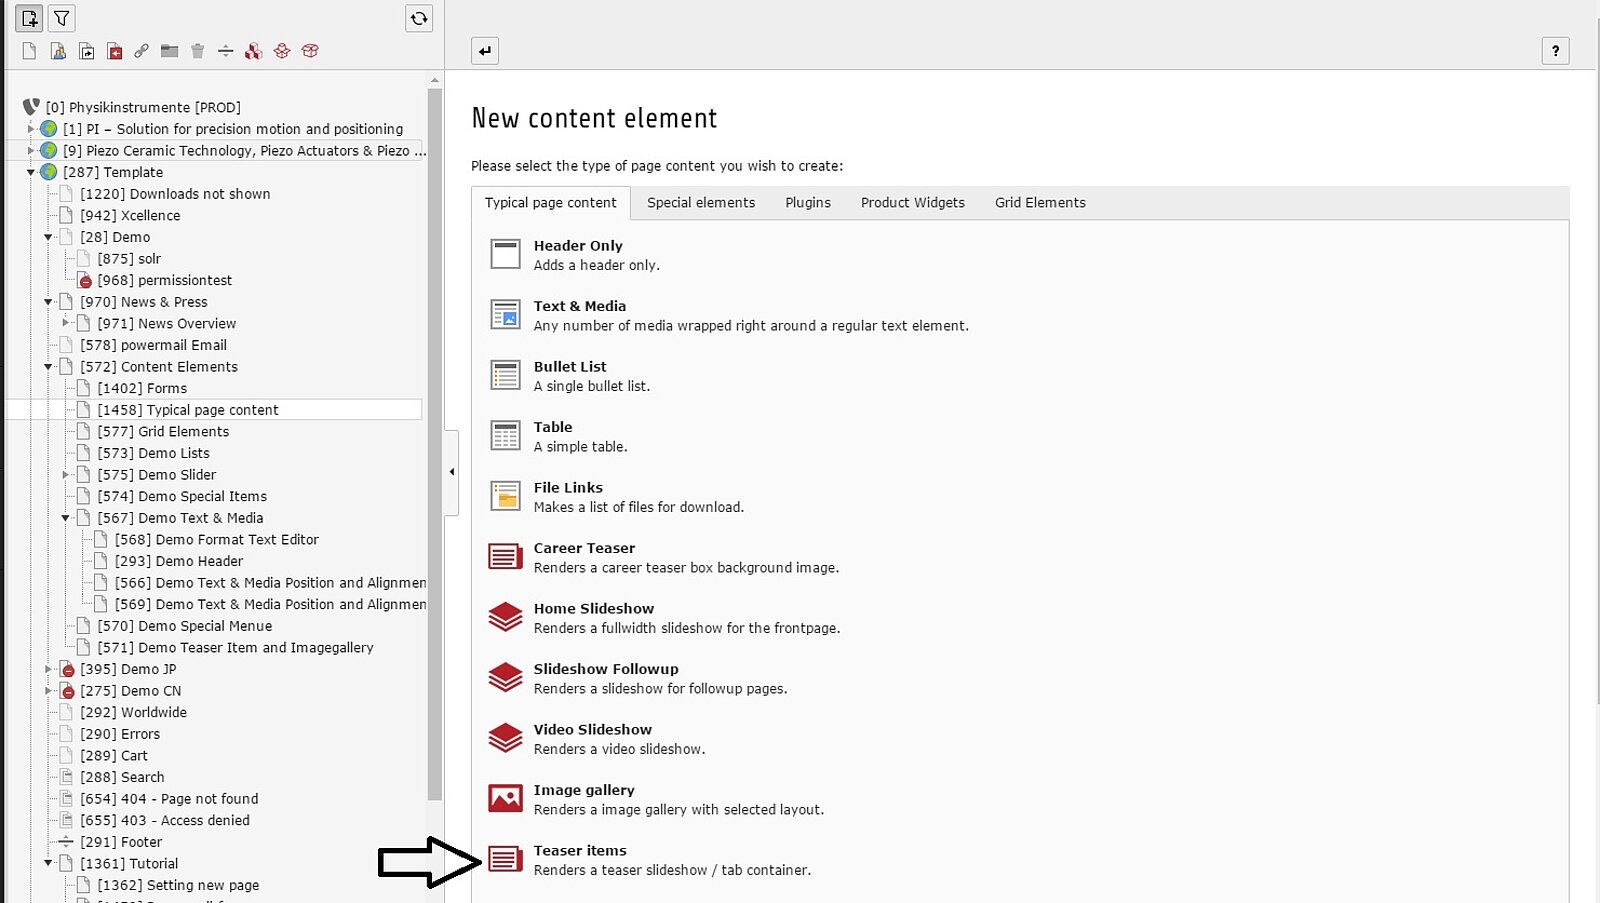
Selecting the content element Teaser items
To create a slideshow of items with text and media, you can choose the content element "Teaser items" indicated by the black arrow.
Adding the teaser items
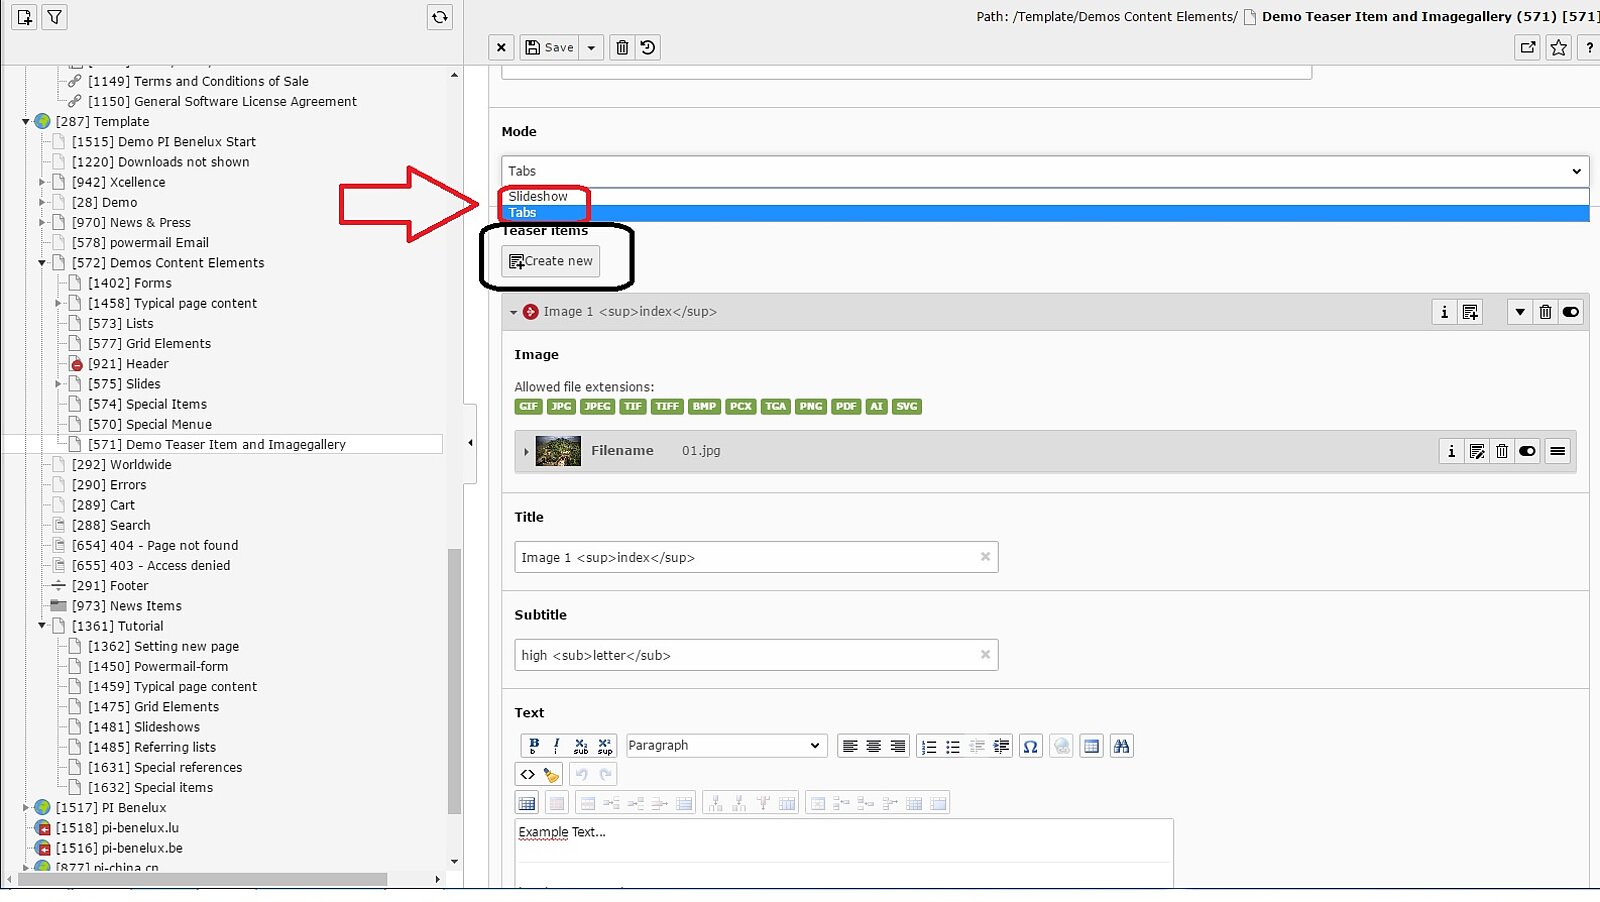
Adding the teaser items
- red arrow: The teaser items can be shown in two differents modes, as a slideshow or in tab form. See an example of both >>here
- black circle: Create new items for your teaser. As soon as you choose a file from the filelist of your TYPO3 you can configurate it, like in IMG 25. You can also add a title, subtitle, and a text to every item
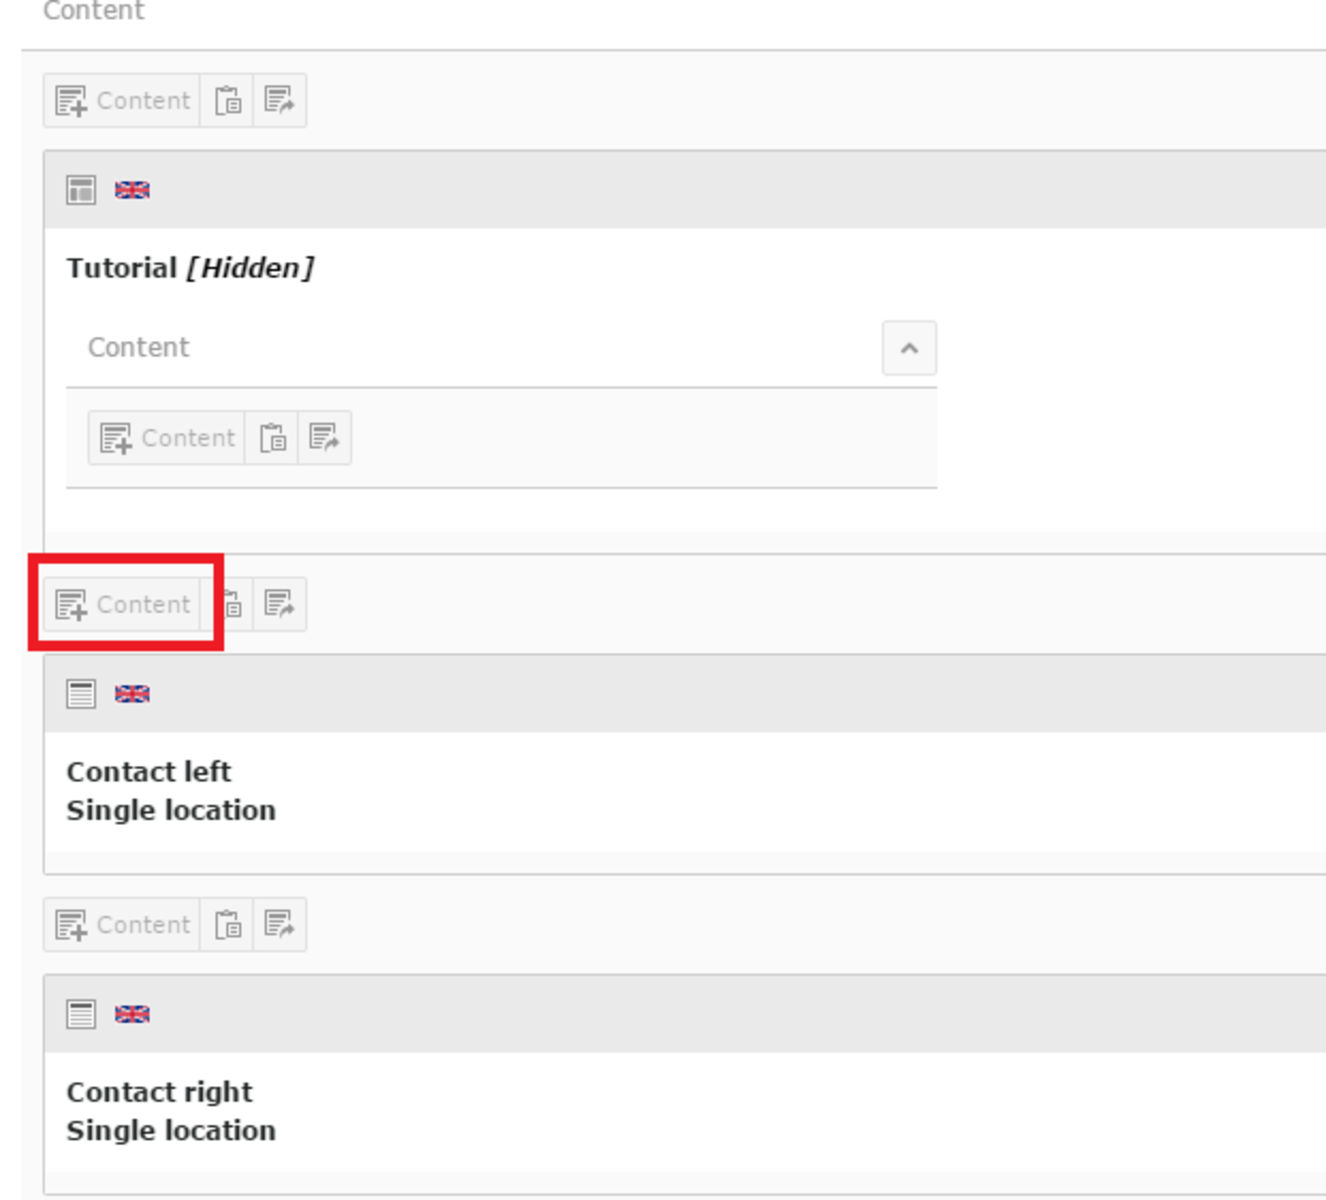
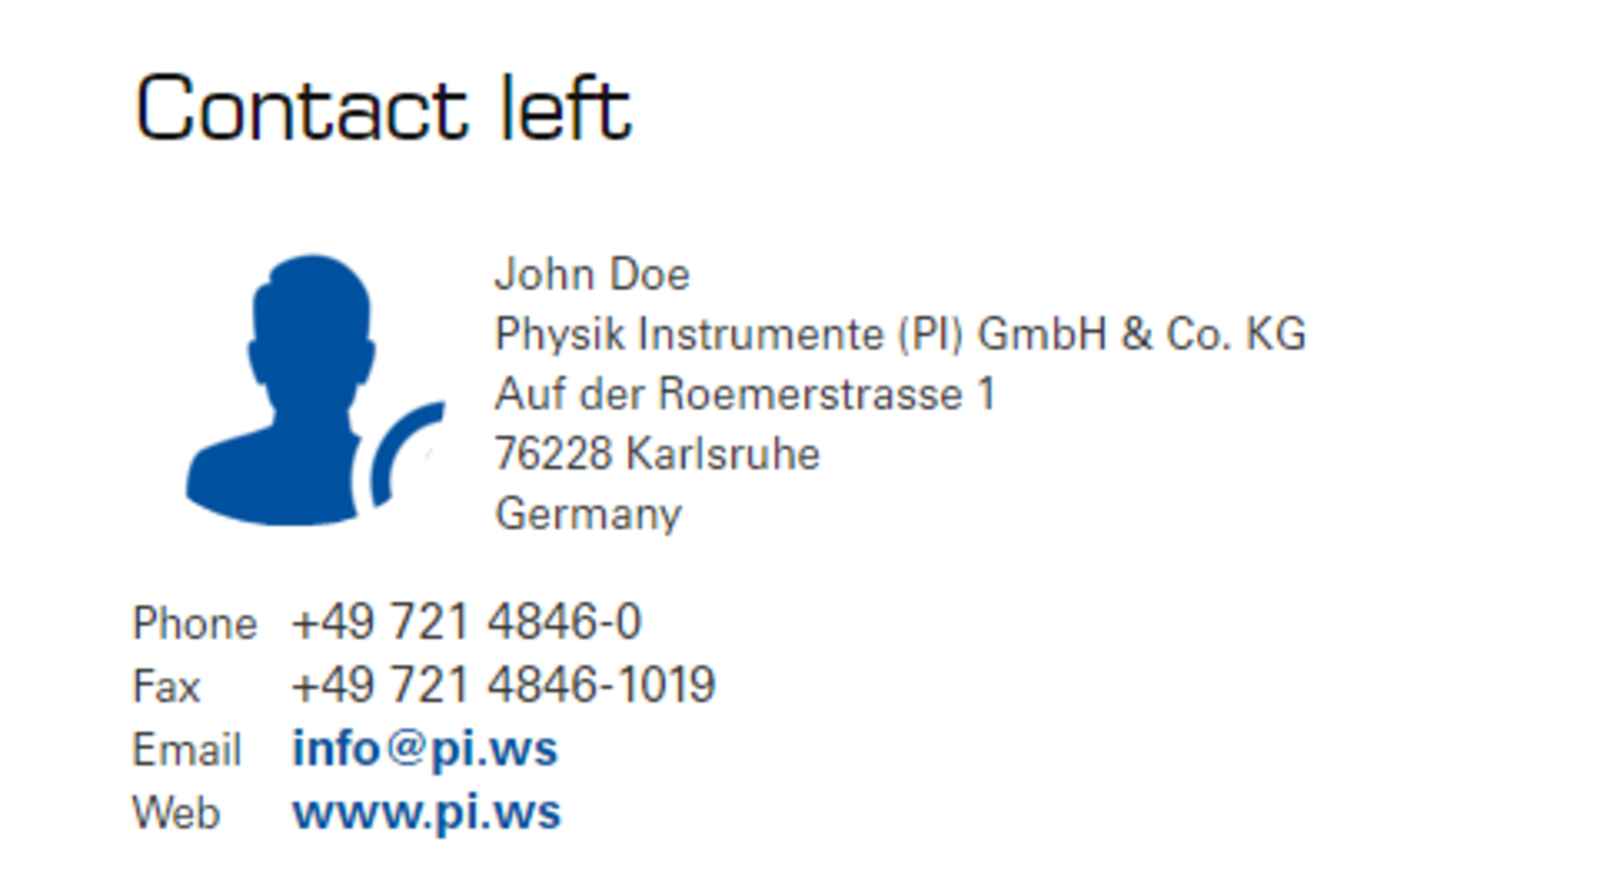
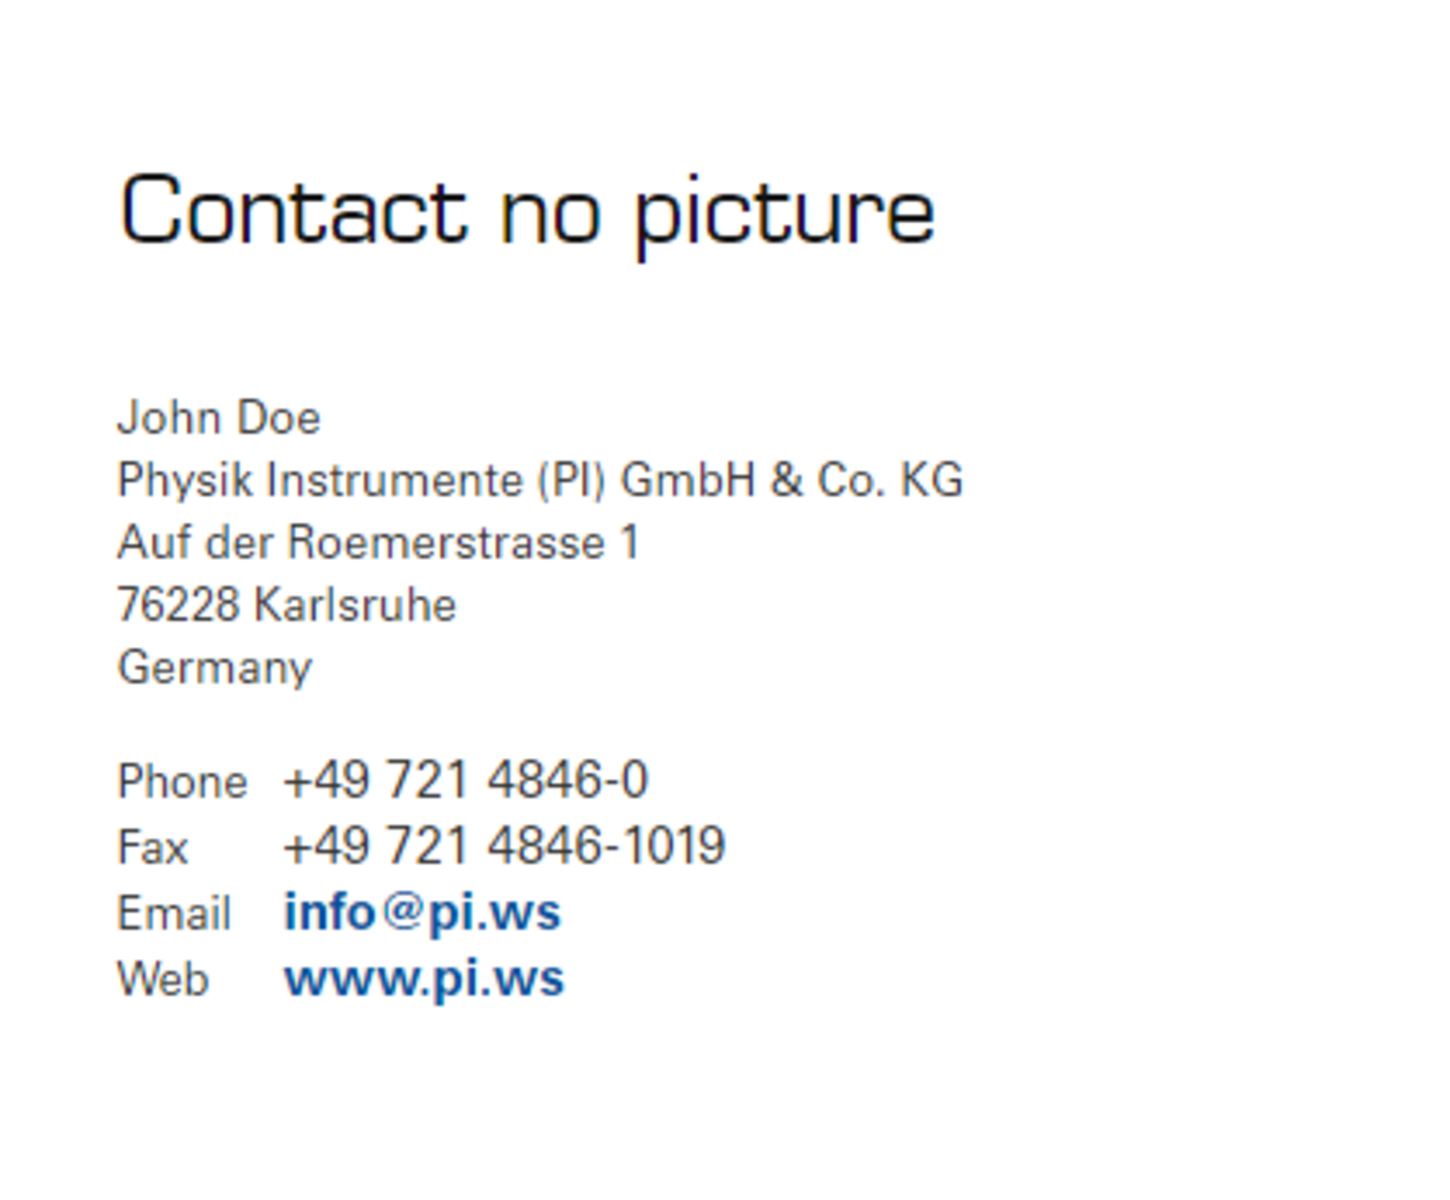
1. To add a new contact with picture and an address you need to add a single location.
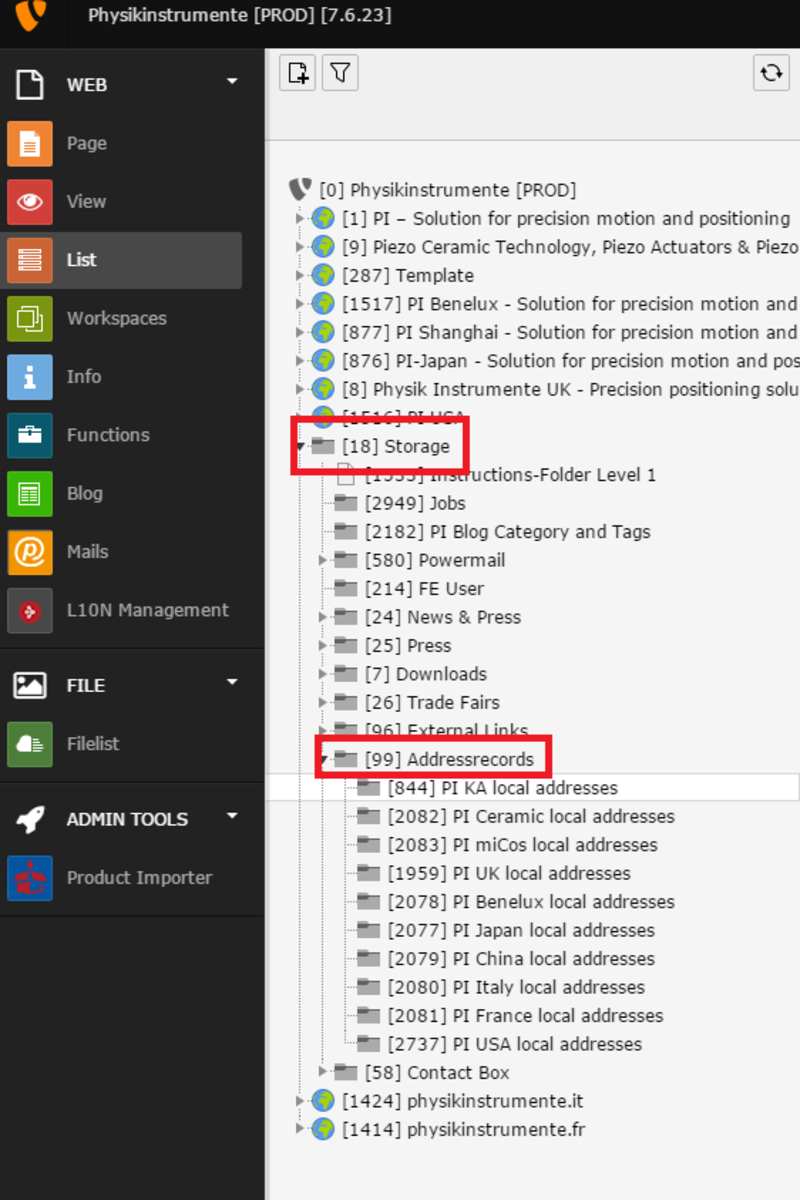
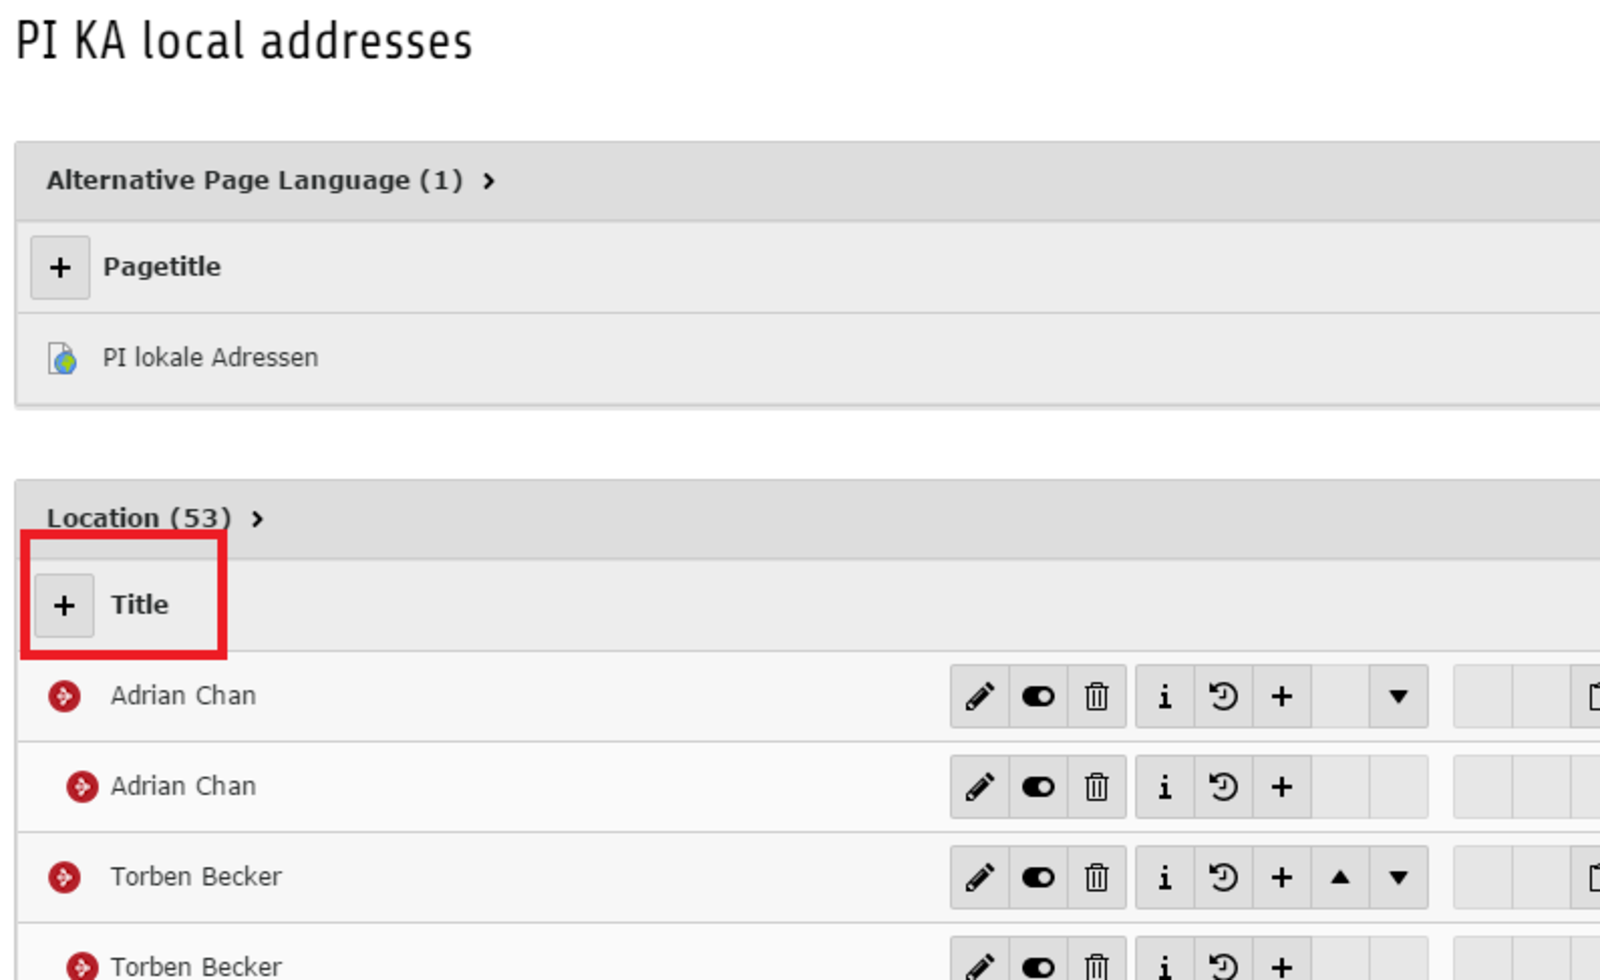
Single location can be added in the storage -> Addressrecords, then choose your corresponding folder.
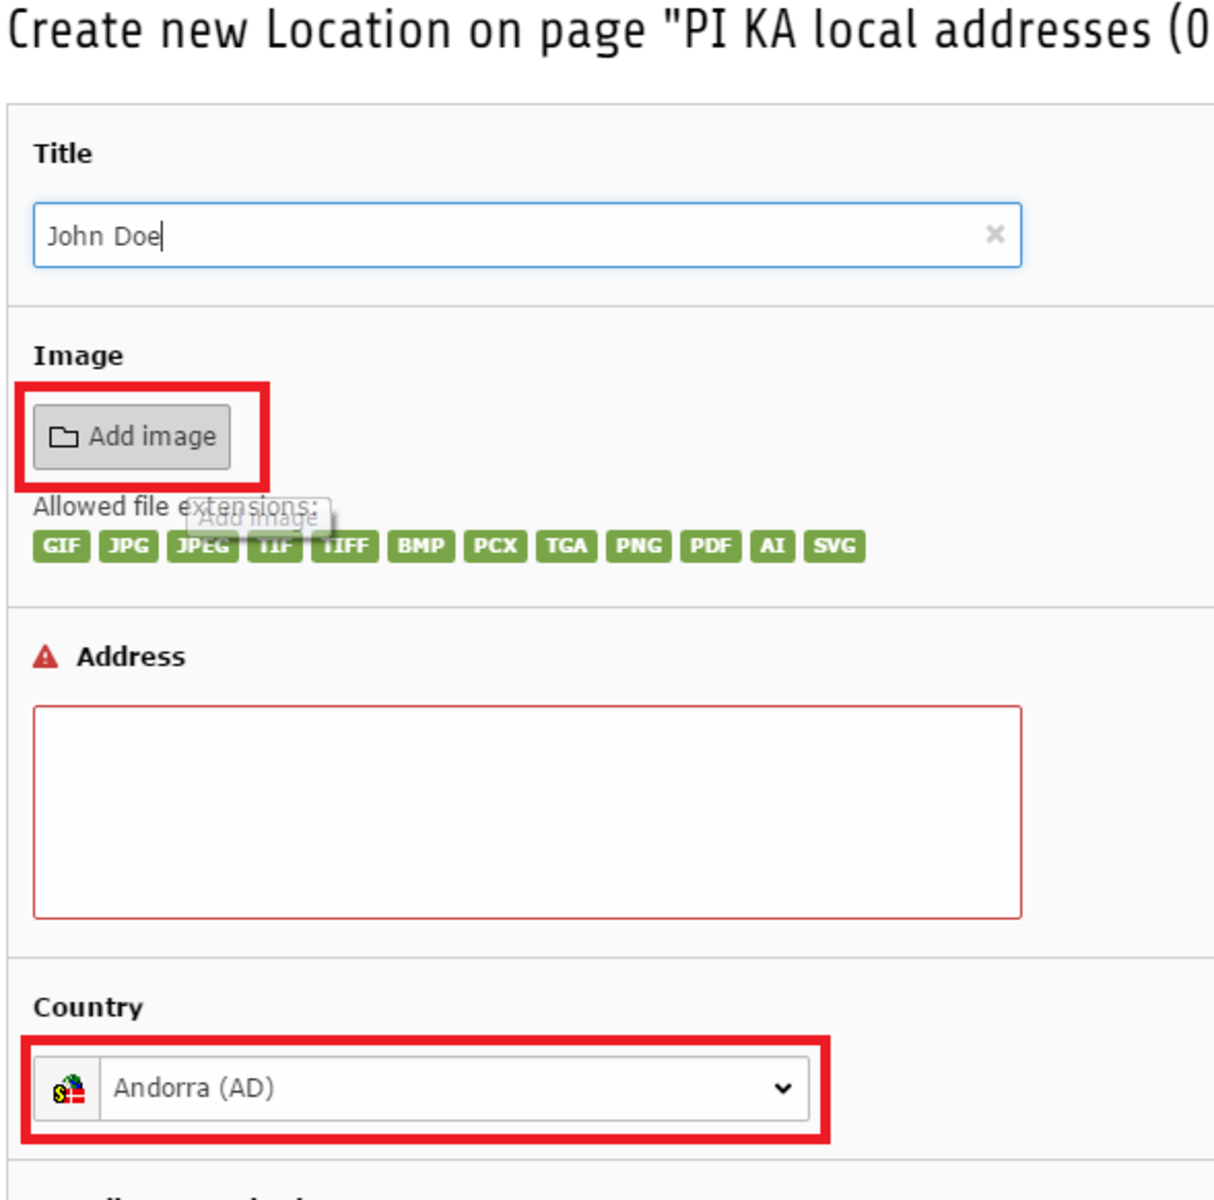
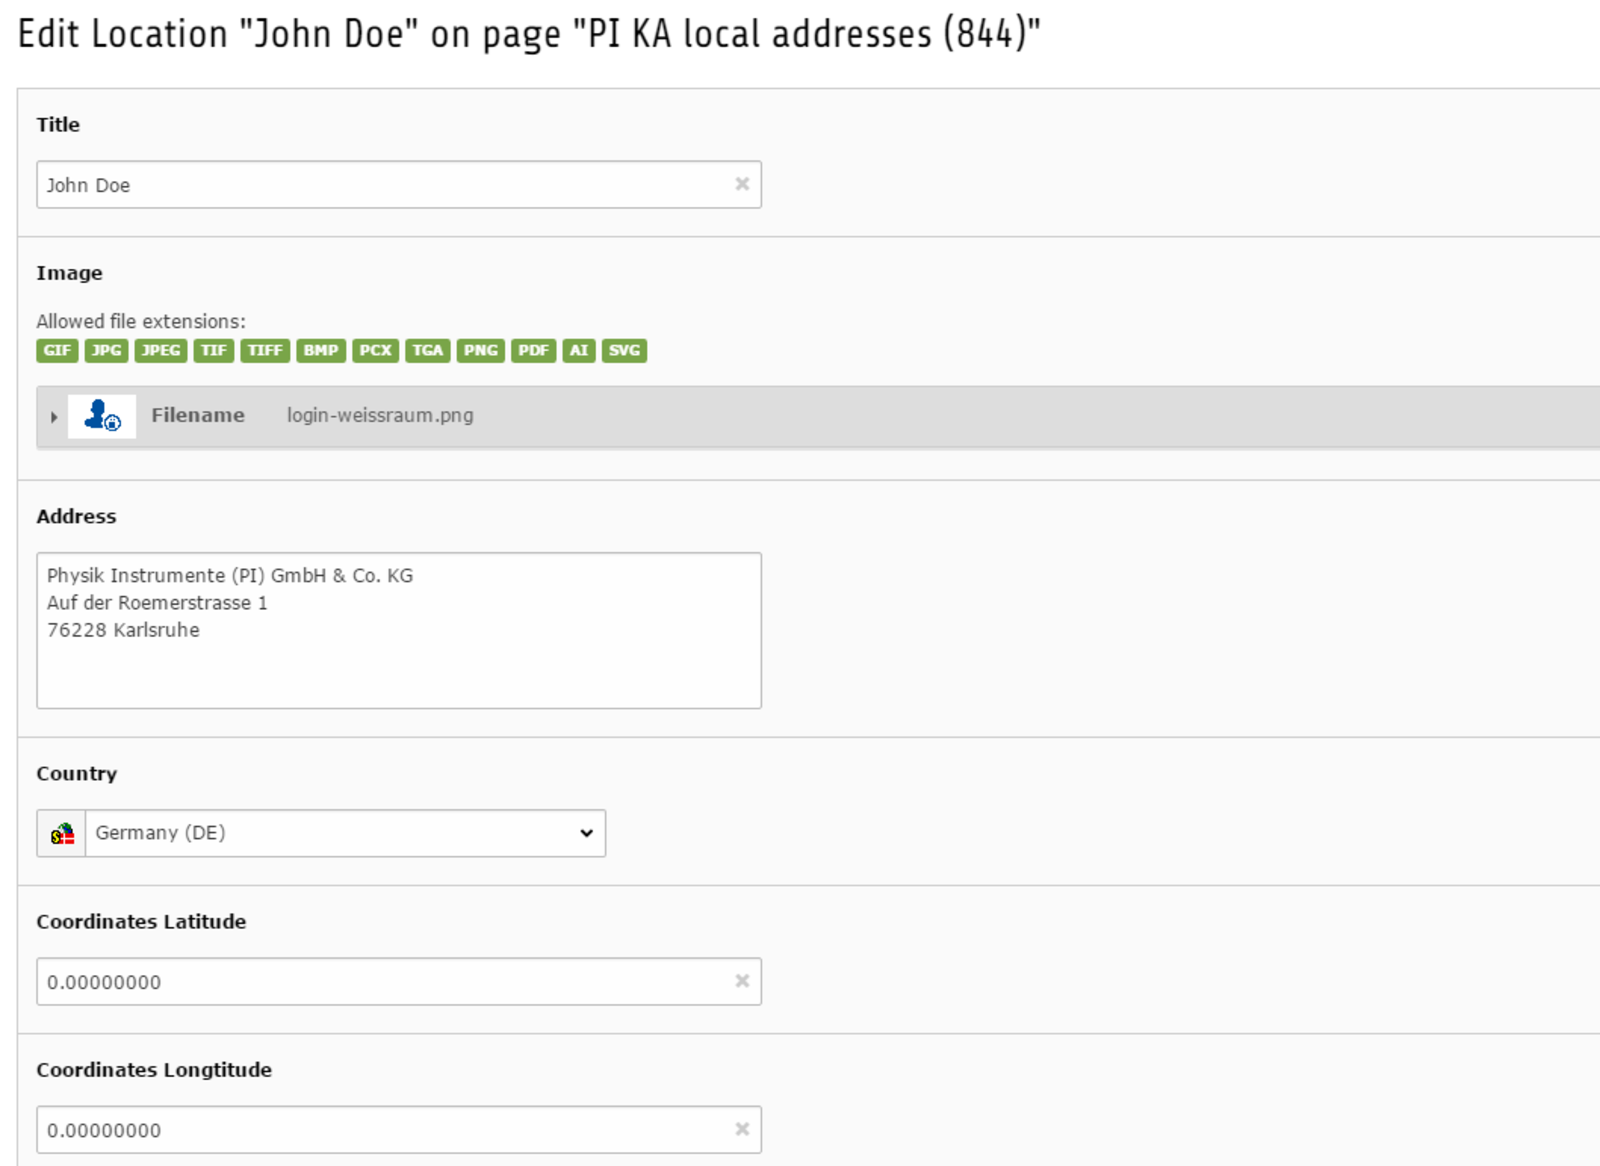
3. Fill in the form and add a picture if needed
Title = Name
Address = Address without the country
Country = Choose yours
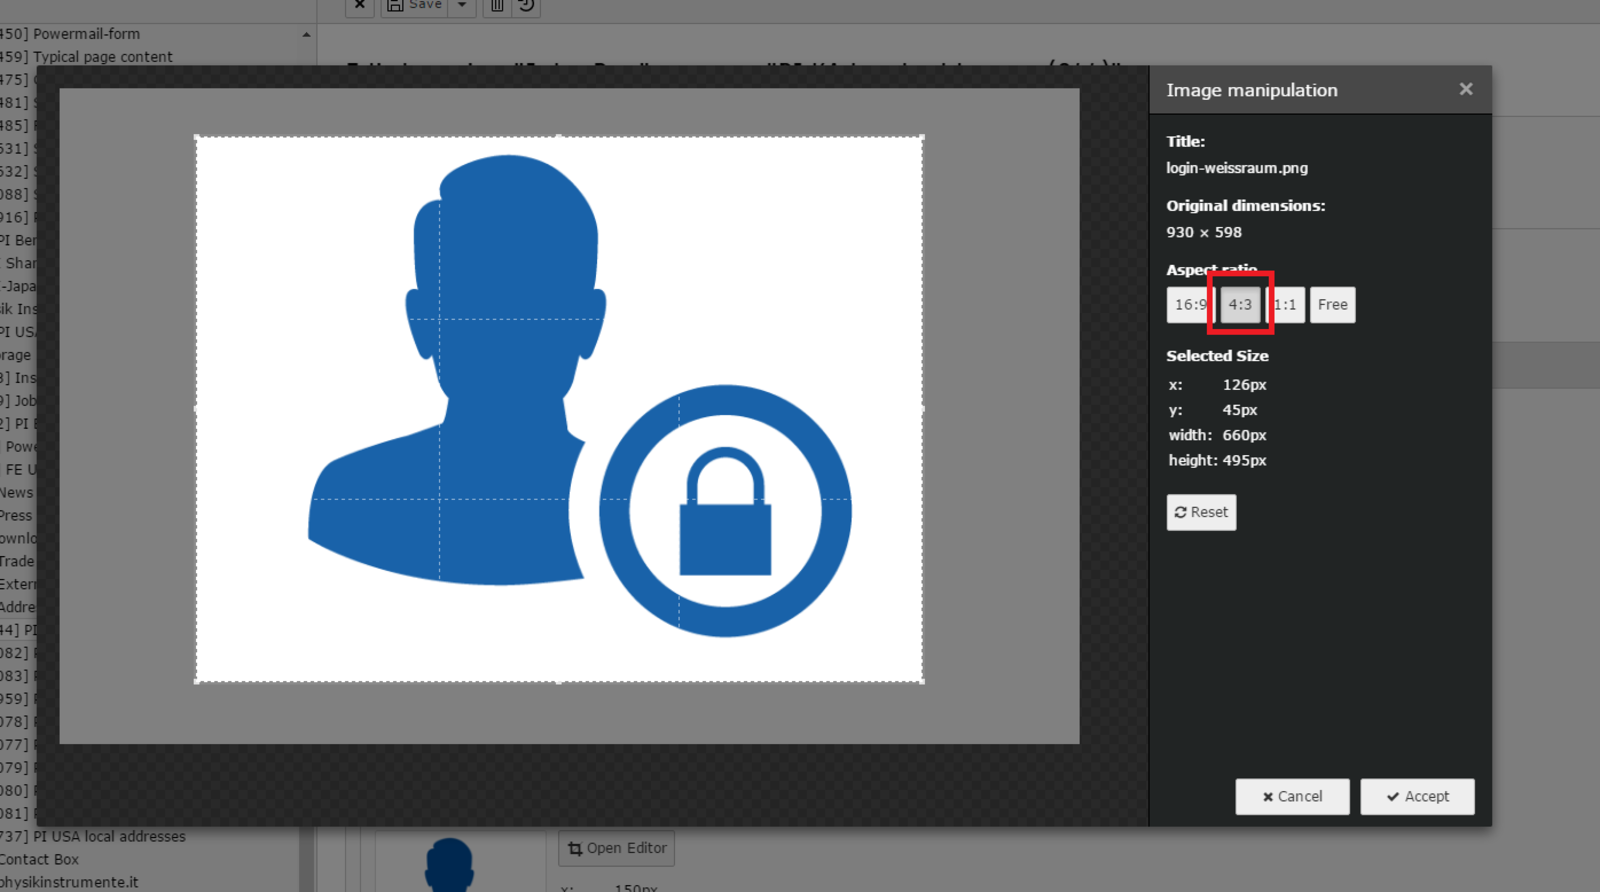
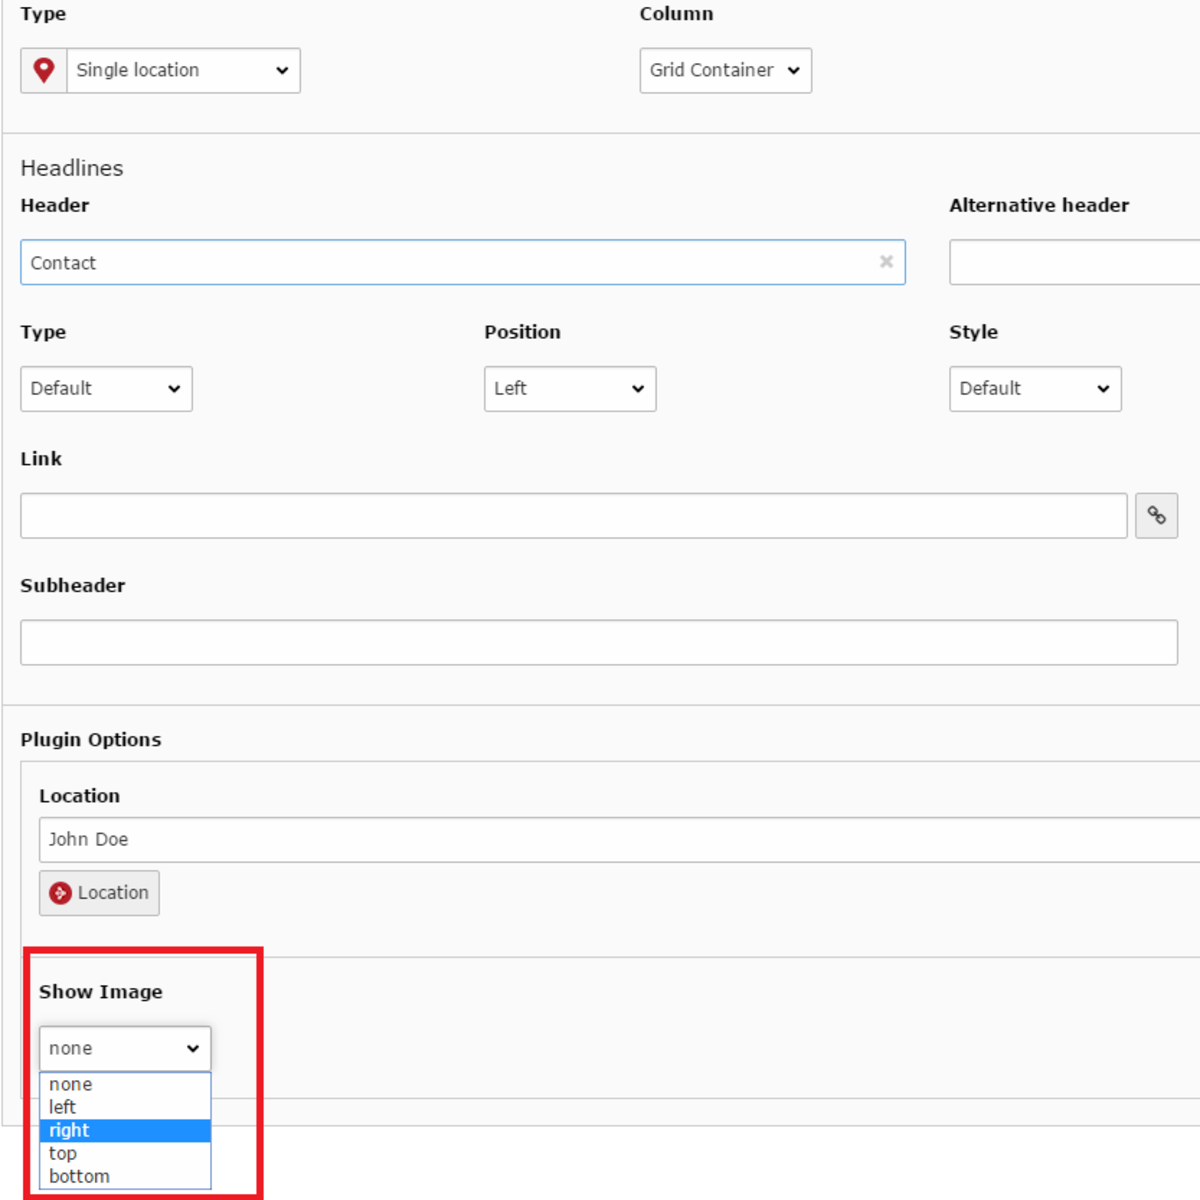
Picture -> round picture on the web -> use the editor and cut it with 4:3
-> square picture -> cut it with 16:9 or free
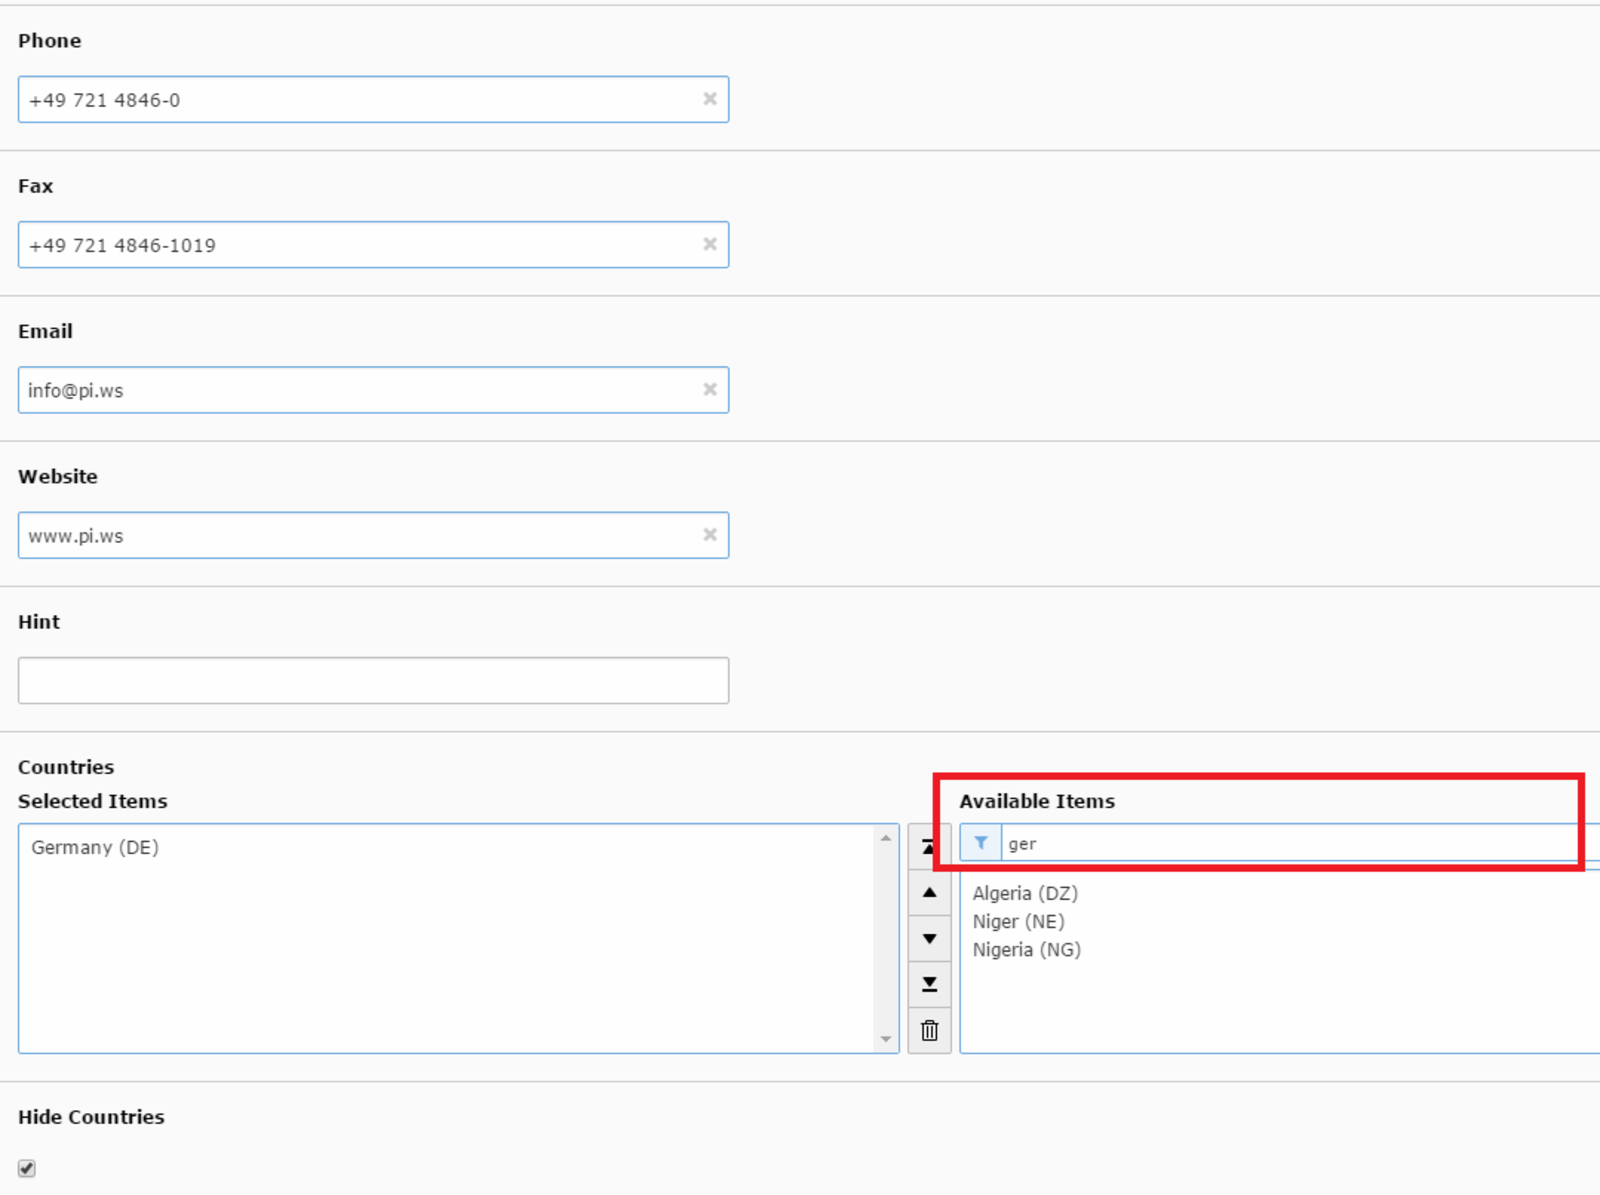
4. Go on with filling in the form ( Phone Fax, Email, Website)
Hint = it's not visible on the website, only a note for you and other backend users.
Activate the "Hide Country" Checkbox.
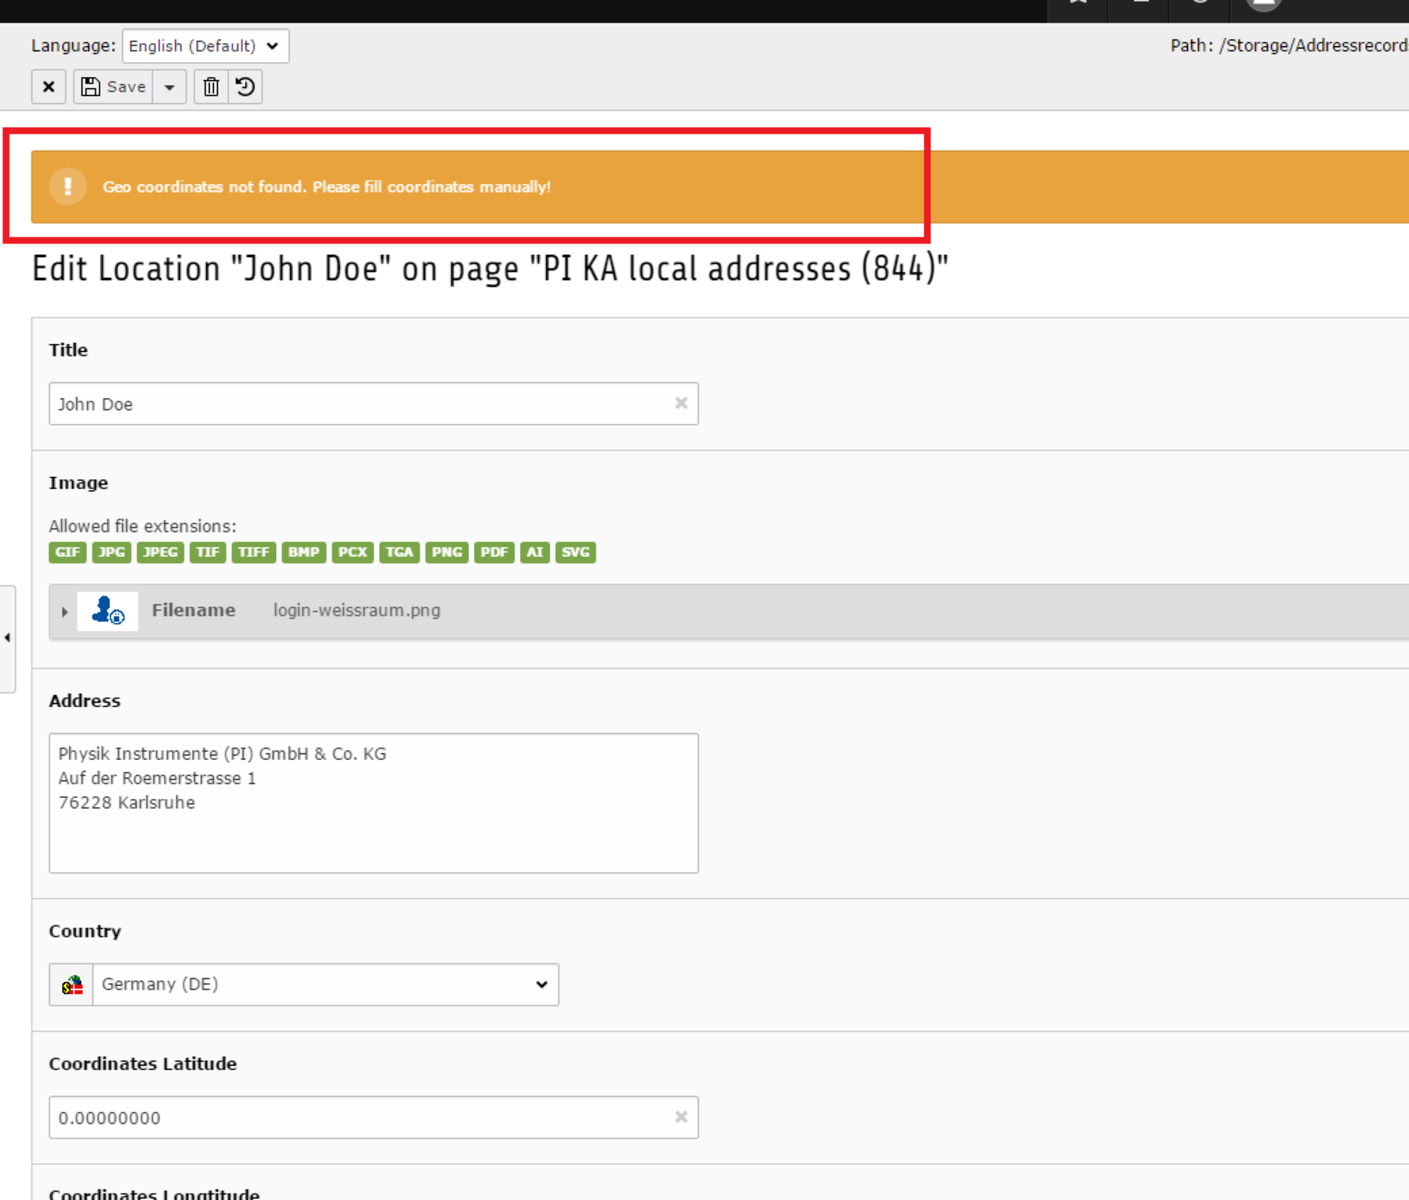
5. When you save the item this note (orange) appears. It's okay don't mind just go on :)
4. Go on with filling in the form ( Phone Fax, Email, Website)
Hint = it's not visible on the website, only a note for you and other backend users.
Activate the "Hide Country" Checkbox.
5. When you save the item this note (orange) appears. It's okay don't mind just go on :)

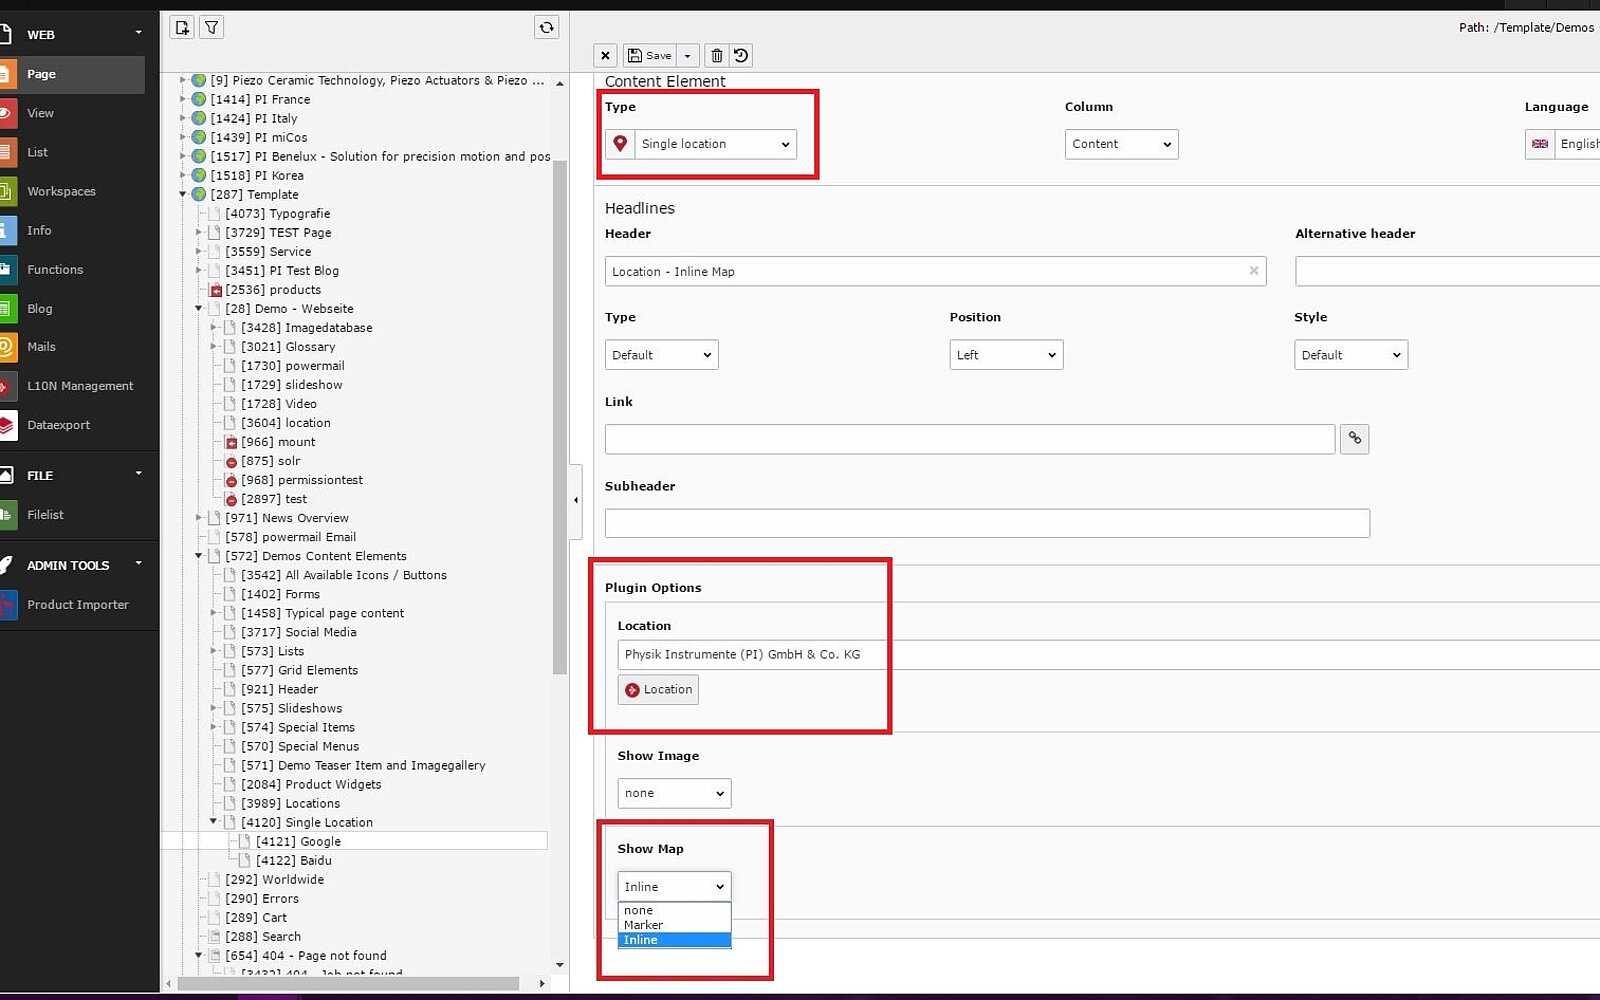
6. switch to the page you want the contact to be onto.
Add a new content element and choose the single location
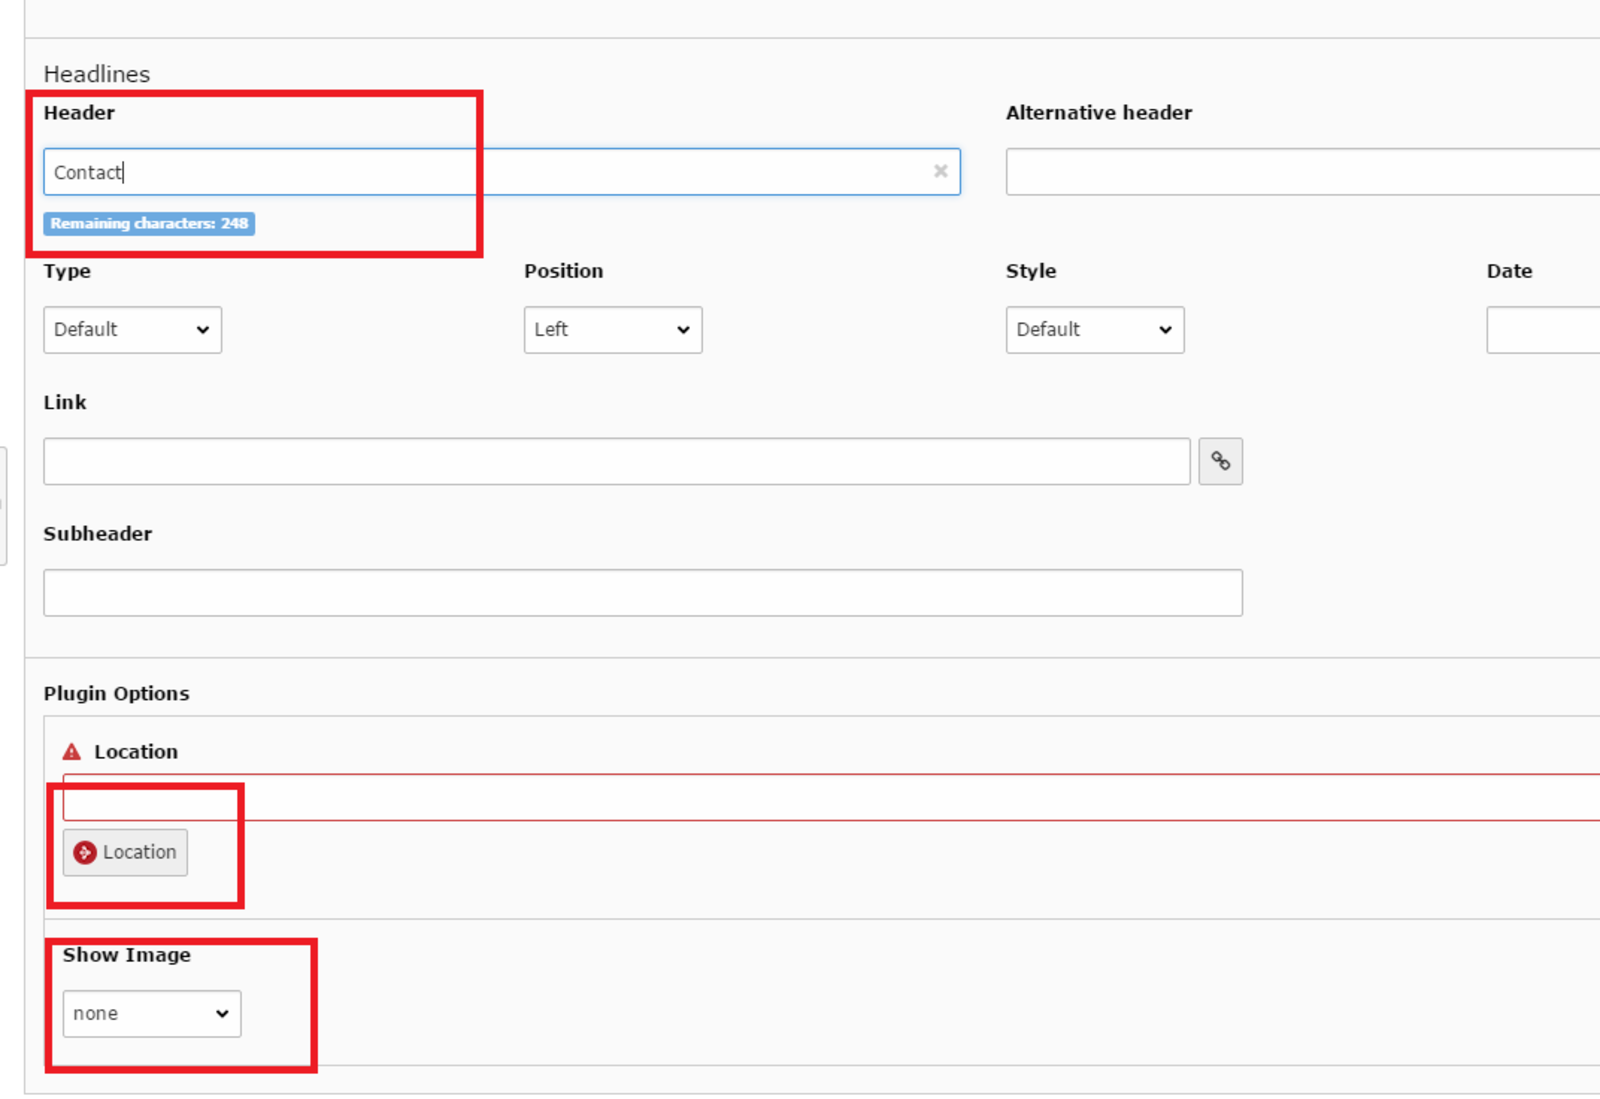
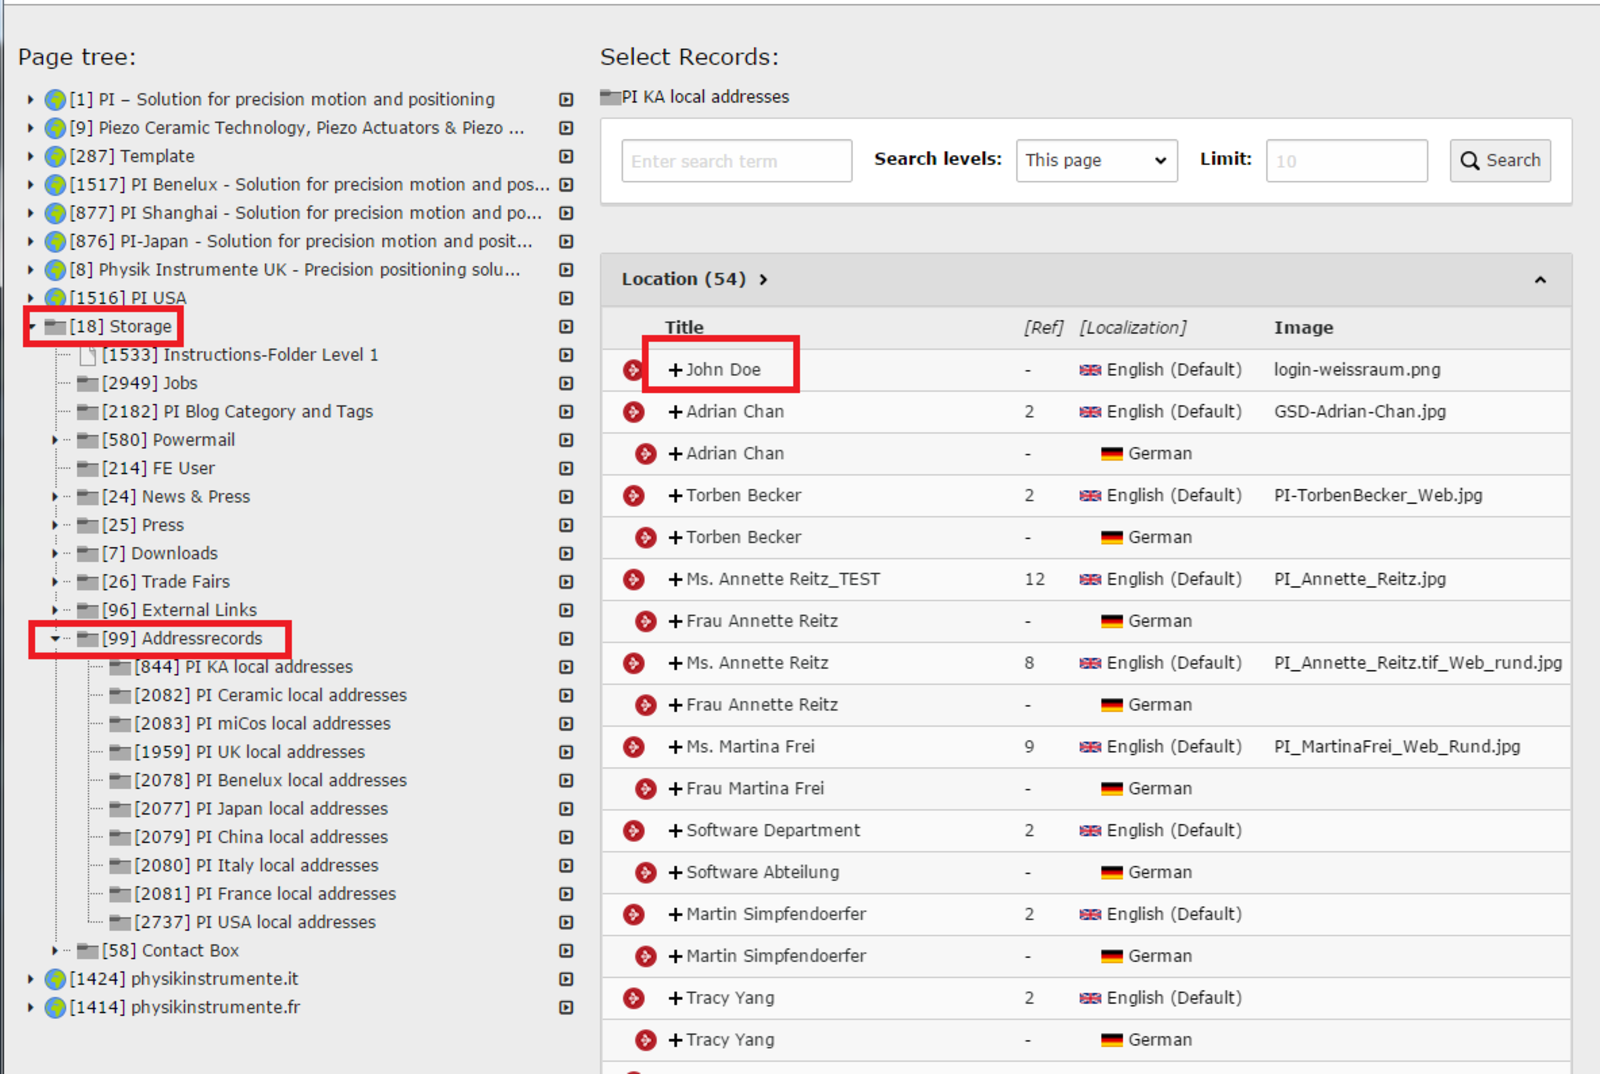
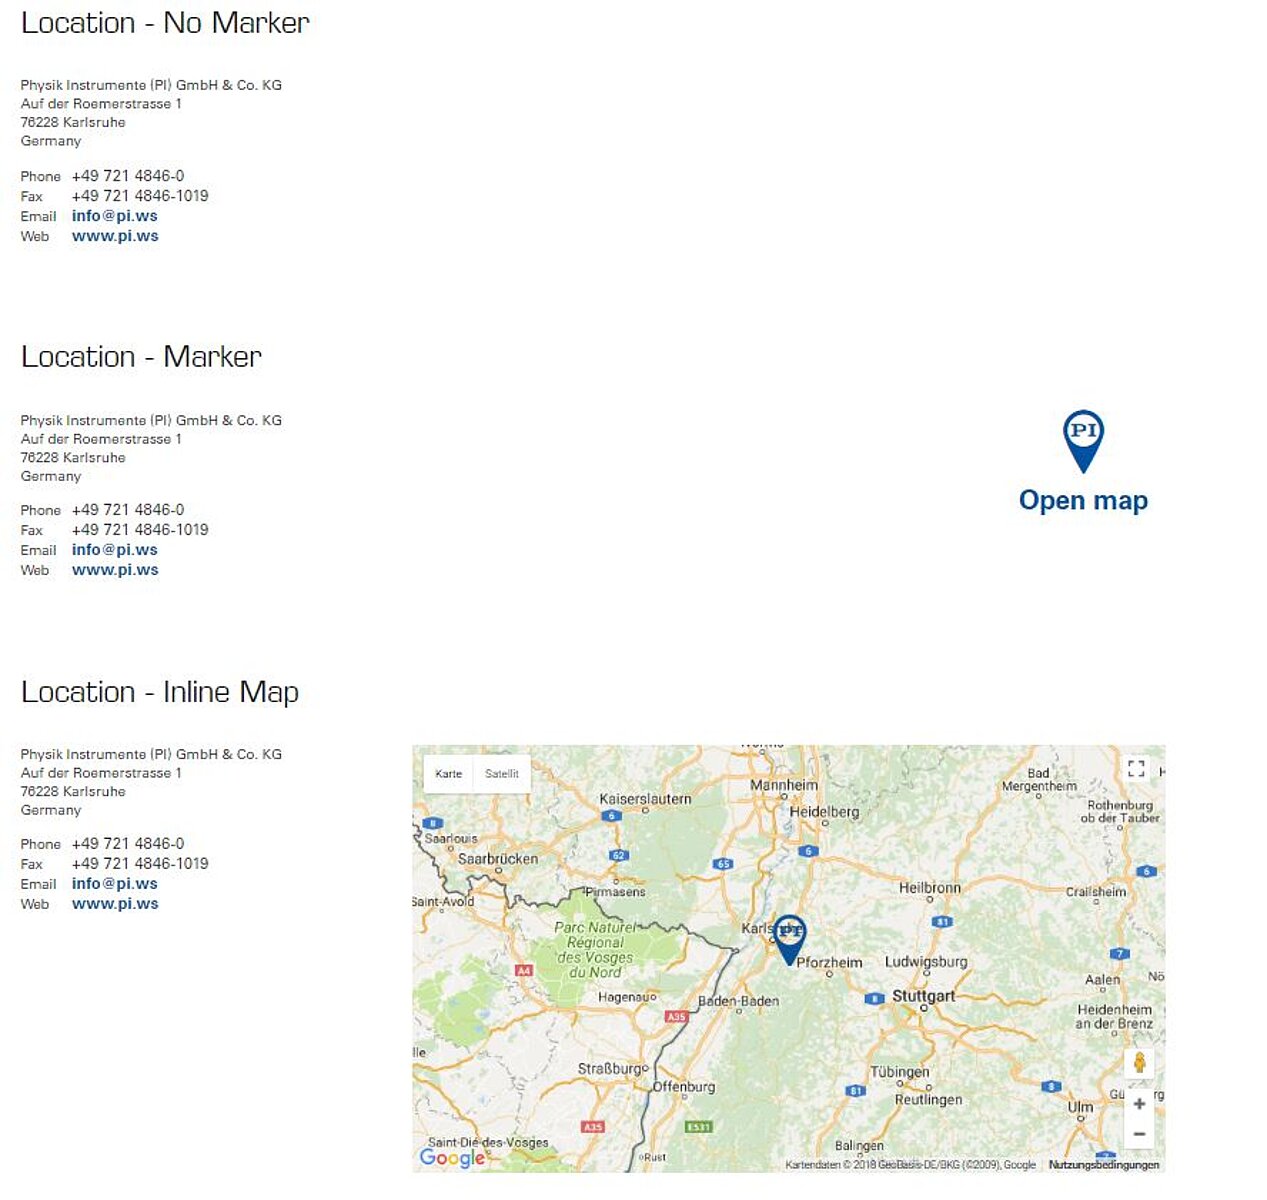
7. Fill in the Header and choose your location by clicking the "Location" Button. Find your contact in the storage -> Adressrecords -> your local folder. Add the default location.


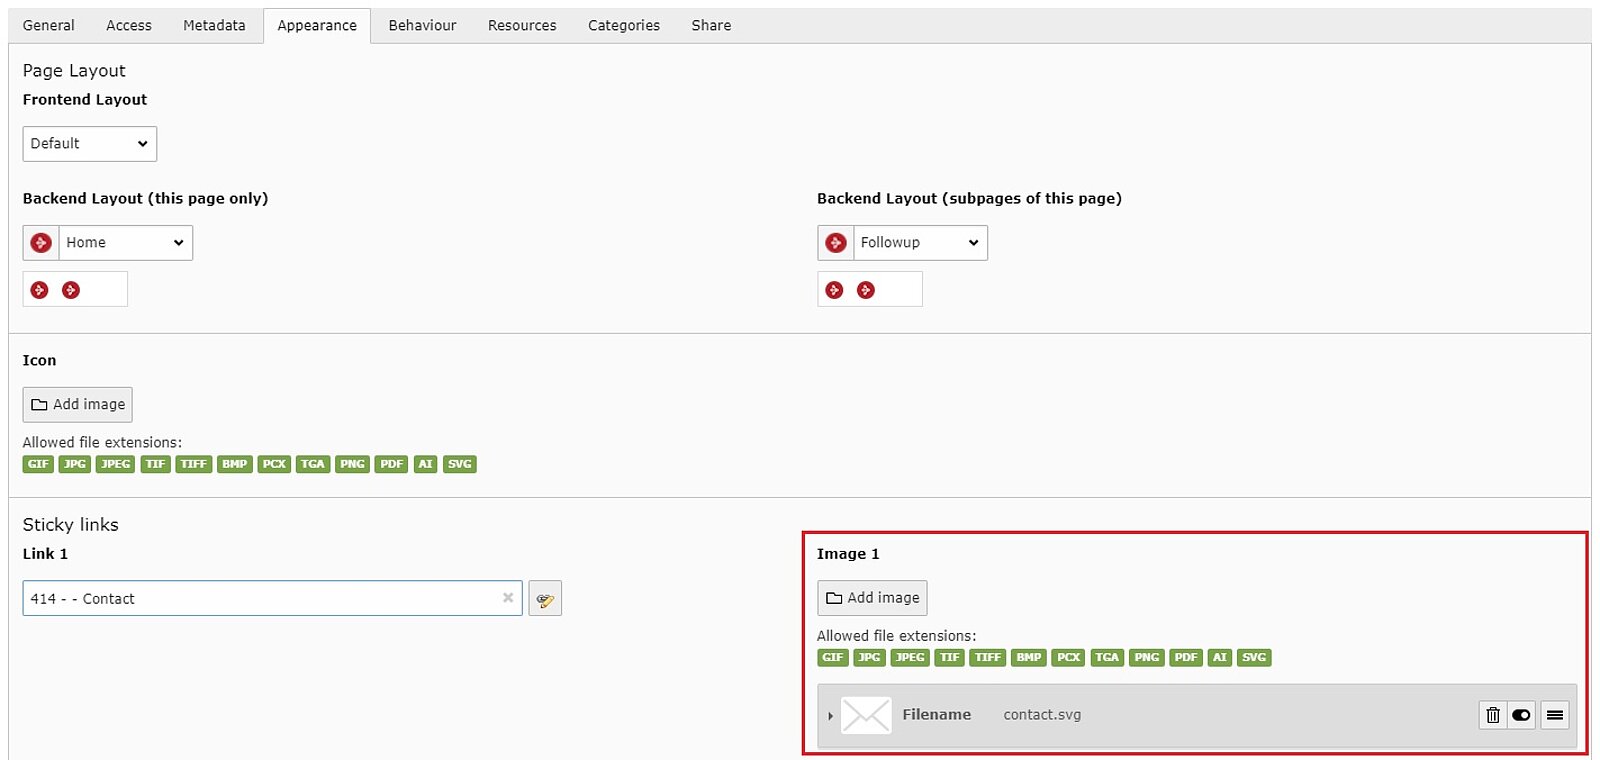
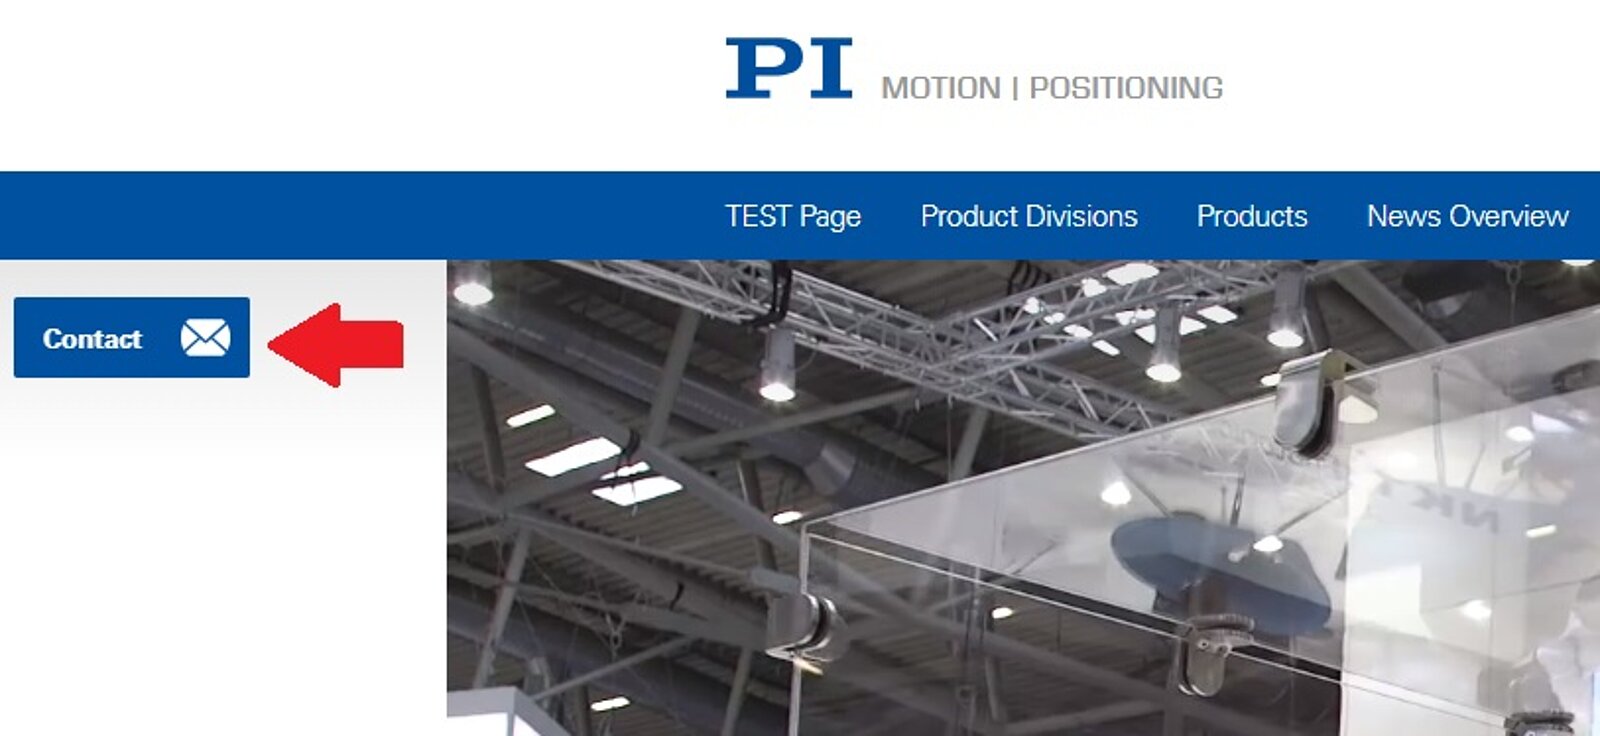
Sticky Flags are added on the homepage and display on every page of the root node.
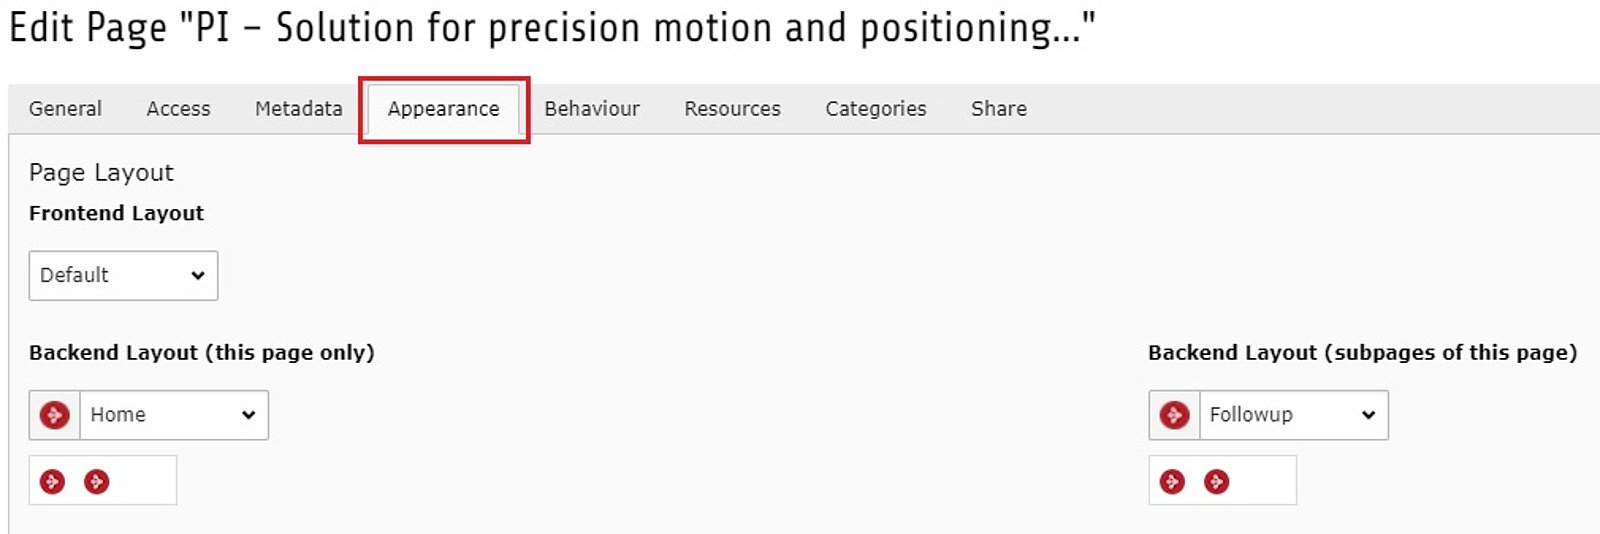
1. Go to the homepage of the website you would like to add a sticky flag to and open the page properties -> „Appearance“.

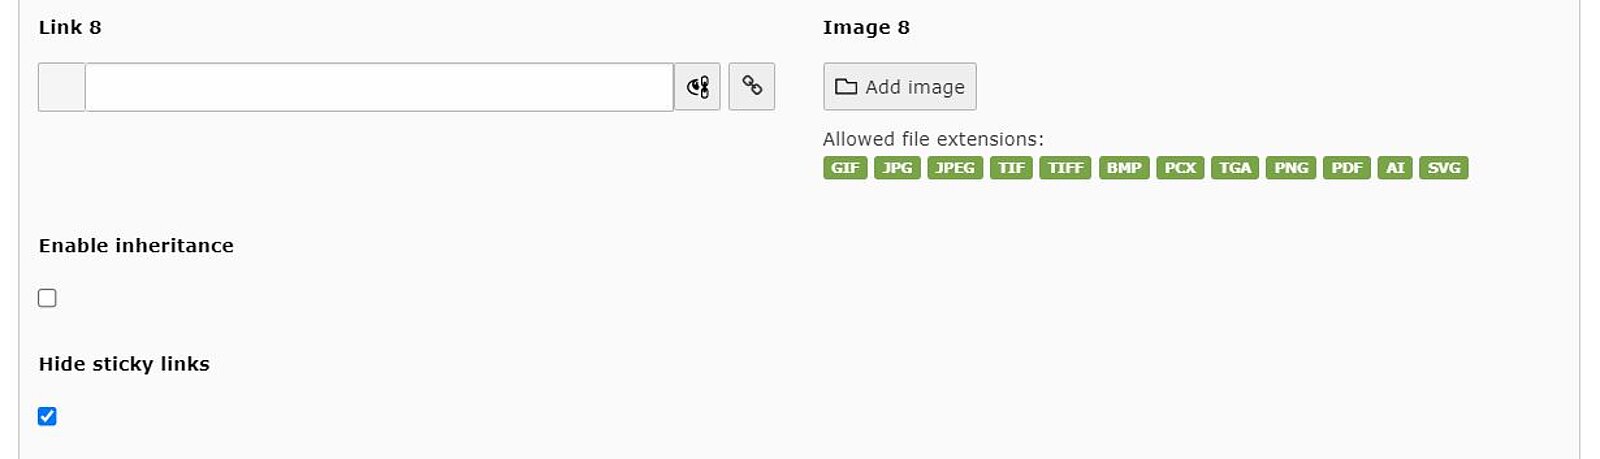
2. Under „Sticky links“ you can add a maximum of eight links. Click on the link icon to add a link. The page tree will open.
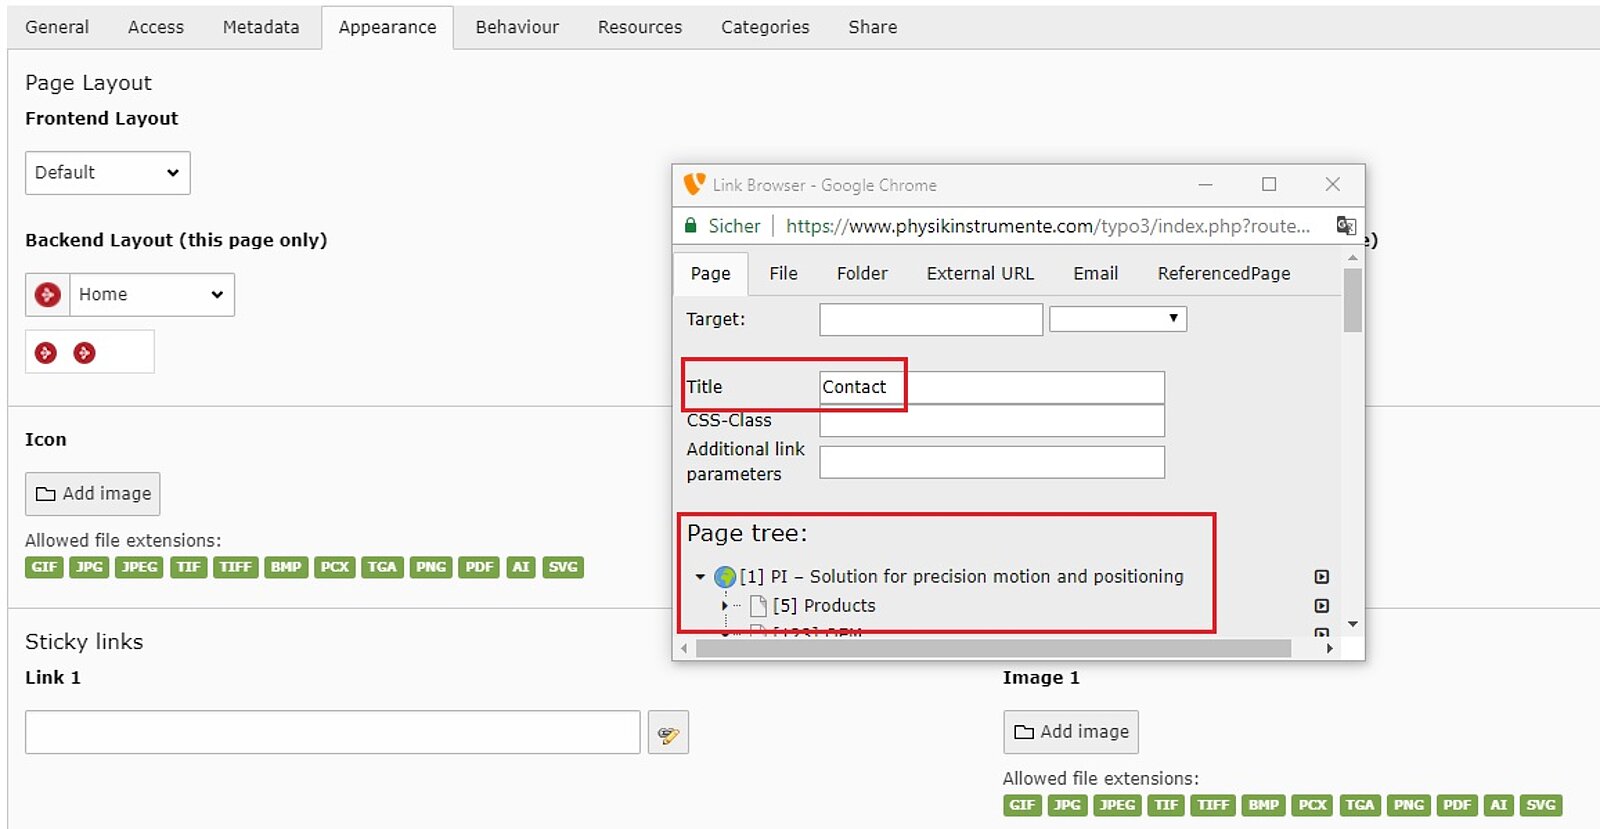
3. Insert the page link the sticky flag should link to using the page tree and a title (that will be shown on the sticky flag).